If you’re serious about powerlifting, you know how important a good belt is for support and safety. But what if you could customize your own powerlifting belt without spending a fortune?
Imagine having a belt that fits perfectly, feels comfortable, and boosts your confidence every time you lift. You’ll discover simple DIY hacks that make creating or upgrading your powerlifting belt easy and affordable. Whether you’re a beginner or a seasoned lifter, these tips will help you get the most out of your gear—and your lifts.
Ready to take your training to the next level? Let’s dive into these game-changing DIY hacks for your powerlifting belt.
Choose The Right Materials
Choosing the right materials is key to making a strong powerlifting belt. The belt must support heavy weights and last long. Materials affect comfort, durability, and safety during lifts. Picking quality components helps build a reliable belt. Focus on the type of material for the belt and the hardware that holds it together.
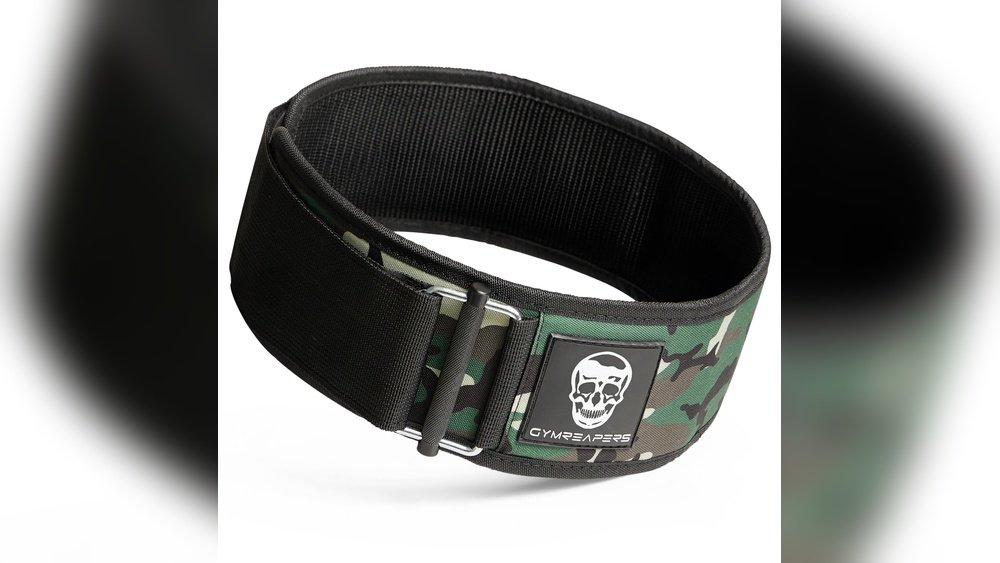
Leather Vs Synthetic Options
Leather is popular for powerlifting belts. It offers great support and stiffness. Real leather molds to your body over time. This makes it comfortable and secure. Leather also lasts many years if cared for well.
Synthetic materials like nylon or PU leather are lighter and cheaper. They dry quickly and resist sweat well. Some synthetics may lack the firm support of leather. They can stretch or wear out faster. Choose synthetic if you want a flexible and easy-care belt.
Selecting Durable Buckles And Hardware
The buckle must hold the belt tight and safe. Metal buckles are strong and long-lasting. Look for stainless steel or heavy-duty alloys. Avoid plastic buckles; they can break under pressure.
Hardware like rivets and loops also need strength. These parts keep the belt together. Use reinforced stitching and solid rivets. This stops the belt from tearing during heavy lifts.
Customize Belt Size And Fit
Customizing the size and fit of your powerlifting belt is essential for comfort and support. A belt that fits well helps stabilize your core during heavy lifts. Simple DIY hacks can adjust the belt to match your waist perfectly. These small changes make a big difference in your lifting performance.
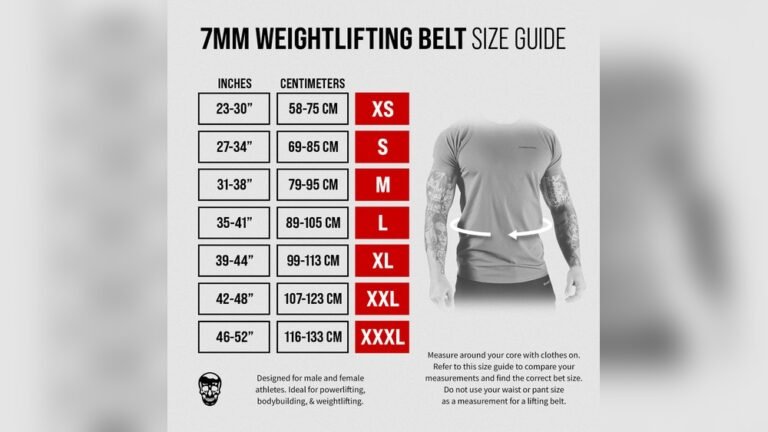
Measuring Your Waist Accurately
Use a soft measuring tape to measure around your waist. Place it where you usually wear the belt. Keep the tape snug but not tight. Write down the measurement for reference. This step ensures the belt size matches your body.
Adjusting Buckle Holes And Straps
Mark new buckle holes using a pen or marker. Space holes evenly for better adjustment options. Use a leather punch or sharp tool to create holes. Test the fit by fastening the belt at different holes. Adjust strap length by sliding it through the buckle.
Cutting And Resizing Techniques
Measure the length of the belt needed before cutting. Use sharp scissors or a utility knife for clean cuts. Seal the cut edge with lighter heat or glue to prevent fraying. Reattach buckle parts if necessary after resizing. Try the belt on and fine-tune the fit as needed.
Enhance Comfort And Support
Enhancing comfort and support in your powerlifting belt is essential. A well-fitted belt helps prevent injuries and improves your lifting performance. Simple DIY hacks can make your belt more comfortable and supportive without spending much money. These tweaks allow you to lift longer and train harder with less discomfort.
Adding Padding And Lining
Adding padding softens the hard surface of the belt. Use foam or gel inserts for cushioning. Cut the padding to fit the inside of the belt. Attach it with strong adhesive or heavy-duty glue. For extra comfort, line the belt with soft fabric like felt or suede. This reduces skin irritation during heavy lifts.
Shaping The Belt For Better Fit
Shape the belt to match your body curve. Bend it gently around your waist to create a custom fit. Use your hands or a rolling pin to mold the belt. This prevents pressure points and improves support. A curved belt sits tighter and feels more natural during squats and deadlifts.
Using Heat Or Tools For Molding
Heat helps soften the belt material for easier shaping. Use a hairdryer or heat gun on low heat. Warm the belt evenly while bending it slowly. Avoid overheating to protect the leather or synthetic material. Tools like belt stretchers or wooden forms help keep the shape. Allow the belt to cool completely before use to hold the new form.

Credit: cairocommunity.com
Improve Belt Stability
Improving belt stability is key for safer, more effective powerlifting. A stable belt supports your core and lowers injury risk. Simple DIY hacks can enhance your belt’s hold and comfort.
Creating Extra Loops For Secure Fit
Adding extra loops to your belt keeps it from shifting during lifts. Use strong fabric or leather strips to make loops. Sew or glue them near the buckle or along the belt. These loops hold the belt tight, preventing it from loosening.
Using Clips And Carabiners
Clips and carabiners add quick, adjustable security to your belt. Attach a carabiner through the belt’s loops to lock it in place. This method allows fast adjustments between sets. Choose metal clips for durability and strength.
Preventing Belt Slippage During Lifts
Slippage reduces support and can cause discomfort. Wrap a thin rubber strip inside the belt for extra grip. Tighten the belt firmly but not too tight to avoid cutting off circulation. Regularly check your belt’s fit before each lift.
Diy Weight And Dip Belt Hacks
DIY weight and dip belt hacks help save money and add versatility. Making your own belt can be simple and practical. These hacks give you options to create strong, reliable belts at home. Use common materials and smart ideas to build belts that fit your lifting needs.
Try these tips to enhance your belt for powerlifting and dips. You will learn how to build, modify, and use belts in different ways. This can improve your workouts without spending much on gear.
Building A Budget-friendly Dip Belt
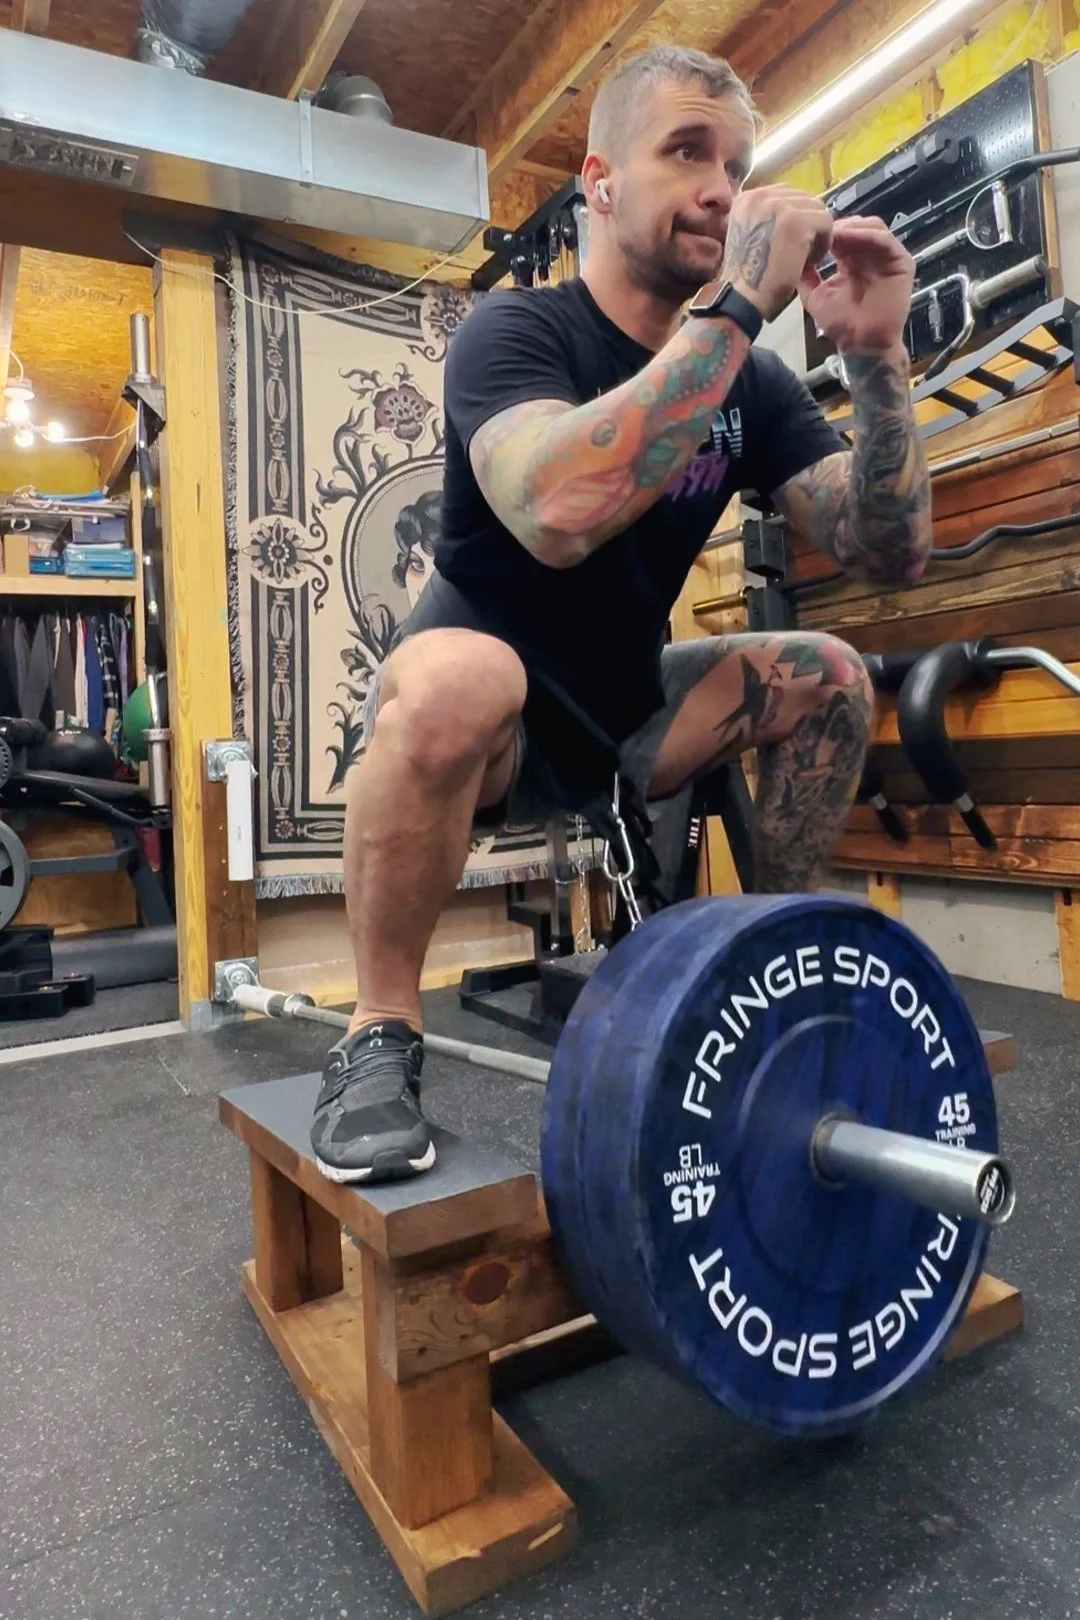
Start with strong webbing or nylon strap from a hardware store. Cut it to fit around your waist comfortably. Add a sturdy carabiner or metal ring at the center front. Use heavy-duty thread or rivets to attach the ring securely. This allows easy weight attachment for dips or pull-ups. Padding the belt with foam or cloth improves comfort. This DIY dip belt can hold heavy weights without breaking. It costs much less than buying a commercial belt.
Using Alternative Weight Hanging Methods
Instead of a carabiner, use strong chains or thick rope loops. Tie knots that won’t slip under load. Attach weights like dumbbells or plates with hooks or clips. You can also use old backpack straps or belts to hang weights. These methods provide flexibility if you lack special hardware. Make sure all connections are tight and safe before lifting. This approach lets you use household items for weighted dips and pull-ups.
Converting Belts For Multiple Uses
Modify a regular leather or fabric belt to serve as both a lifting and dip belt. Sew or attach extra loops or rings along the belt. This lets you hang weights or secure the belt tightly around your waist. Adding removable padding makes it suitable for back support during powerlifting. Use buckles or adjustable straps for a custom fit. With small changes, one belt can handle many workout tasks. This saves space and money while increasing belt functionality.
Credit: www.kaizendiygym.com
Maintenance And Longevity Tips
Maintaining a powerlifting belt helps it last longer and work better. Regular care prevents damage and keeps the leather strong. Small fixes avoid bigger problems and save money. Follow these simple tips to protect your belt and enjoy safe lifting.
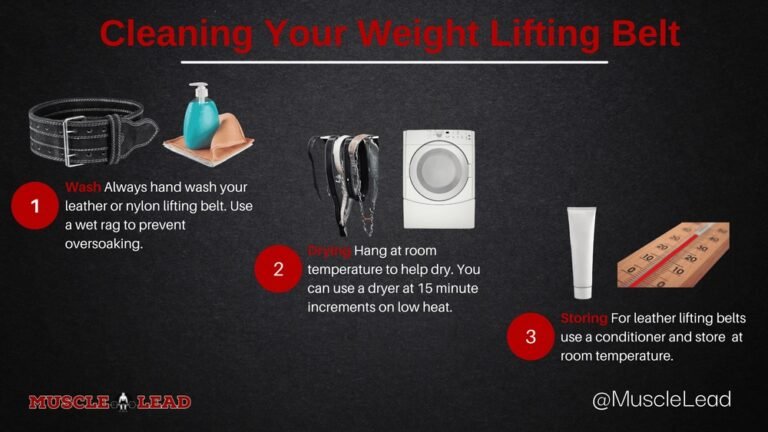
Cleaning And Conditioning Leather
Wipe the belt with a damp cloth after each use. This removes sweat and dirt that can weaken the leather. Use a mild soap if needed, but avoid soaking the belt. Let it air dry naturally, away from heat or sunlight.
Apply leather conditioner every few months to keep the belt soft. Conditioning stops the leather from cracking and becoming stiff. Rub a small amount evenly and let it absorb. This care keeps the belt flexible and comfortable.
Checking For Wear And Tear
Inspect the belt regularly for signs of damage. Look for cracks, frayed edges, or loose stitches. Check the buckle and holes for any stretching or bending. Early detection of issues helps prevent belt failure during lifts.
Pay close attention to areas that bend the most. These spots are more likely to wear out quickly. Mark any weak points and watch them closely to act fast if they worsen.
Simple Repairs To Extend Belt Life
Fix minor cracks by applying leather glue or patch kits. These prevent cracks from growing larger. For loose stitches, use a heavy-duty needle and thread to sew them back securely. Replace worn-out holes with a hole punch tool to keep the belt tight.
Keep spare buckles and hardware on hand. Swapping broken parts can make the belt usable again fast. Small repairs save money and extend the life of your powerlifting belt effectively.
Creative Customizations
Creative customizations let you make your powerlifting belt truly unique. Personal touches can boost your motivation and make your belt stand out in the gym. Simple changes can transform a plain belt into a reflection of your style and strength.
These customizations are easy to do at home. They add personality without costing much. Use your creativity to design a belt you love to wear.
Adding Personal Designs And Logos
Start by drawing or printing your favorite design or logo. Use fabric markers or permanent pens to add these to your belt. You can also use iron-on patches for a cleaner look. Choose symbols that inspire you or represent your lifting journey. This makes your belt feel special and personal.
Painting And Dyeing Techniques
Painting your belt adds vibrant colors and patterns. Use leather paint or fabric dye for a lasting finish. Apply stencils to create sharp shapes or letters. Let the paint dry completely before use. Dyeing can change the belt’s color entirely. Try different shades to match your gym gear or mood.
Incorporating Unique Buckle Styles
Change the buckle to give your belt a fresh look. Swap standard buckles for metal, vintage, or custom-made ones. Look for buckles with interesting shapes or finishes. Make sure the new buckle fits securely and supports your lifts. A unique buckle adds style and a personal touch.

Credit: www.magic-vacation.com
Frequently Asked Questions
How To Make A Diy Weight Belt?
Cut a durable belt to fit your waist. Attach a strong carabiner or metal ring. Securely stitch or rivet weight-holding loops. Test for comfort and adjust tightness. Use heavy-duty materials for safety and durability.
What Is An Alternative To A Dip Belt?
A dumbbell placed behind the knee secured by leg positioning works well as a dip belt alternative. It is simple and effective.
How To Keep A Belt In Place Without Belt Loops?
Use a belt with a snug buckle or add an elastic band to secure it tightly. Try double-sided tape or safety pins for extra hold. Adjust the belt frequently to prevent slipping without belt loops.
How To Create An Extra Belt Loop?
To create an extra belt loop, cut a fabric strip matching your belt. Fold and sew it securely onto the belt. Ensure it fits snugly and aligns with existing loops. This DIY hack adds support and keeps your belt in place effectively.
Conclusion
Creating a DIY powerlifting belt saves money and fits your needs well. Simple materials and easy steps make the process quick. You control the size, comfort, and style of your belt. A homemade belt supports your lifts just like store-bought ones.
Try these hacks to build a belt that works for you. Keep practicing and adjusting for the best fit and support. Your strength journey benefits from a belt made by your own hands.