Are you tired of bulky, expensive wrist wraps that just don’t fit right or wear out too fast? Imagine having wrist wraps that perfectly match your style, comfort, and workout needs—without breaking the bank.
You’ll discover simple DIY hacks to create your own wrist wraps using everyday materials. These easy tricks will not only save you money but also give you the support and flexibility you need to push harder and lift smarter. Keep reading, and you’ll learn how to customize your wrist wraps to boost your performance and protect your wrists every time you train.
Your perfect pair is just a few steps away!
Choosing Materials
Choosing the right materials makes all the difference in creating effective wrist wraps. The material must be strong yet comfortable. It should provide support without restricting movement. Many common items can work well. This section explores a few great options for DIY wrist wraps.
Climbing Webbing Benefits
Climbing webbing is tough and built to last. It offers excellent strength for wrist support. The material is lightweight and flexible too. It resists stretching under pressure. This makes it ideal for heavy lifting or intense workouts. You can cut it to the perfect length easily. Sewing or taping the ends prevents fraying. Climbing webbing holds up well over time.
Using Athletic Tape
Athletic tape is another popular choice. It is sticky and molds well around the wrist. The tape provides firm support and limits unwanted motion. It is easy to adjust for a snug fit. Athletic tape is affordable and widely available. It works well for short-term use or quick fixes. Just wrap it tightly but not too tight to avoid cutting off circulation.
Repurposing Socks And Belts
Old socks and belts make creative wrist wrap materials. Thick socks offer some cushioning and stretch. Cut the sock to the desired width for a simple wrap. Belts, especially fabric or leather ones, provide sturdy support. They can be wrapped and tied to secure the wrist. Repurposing saves money and reduces waste. These materials might need extra fastening to stay in place.
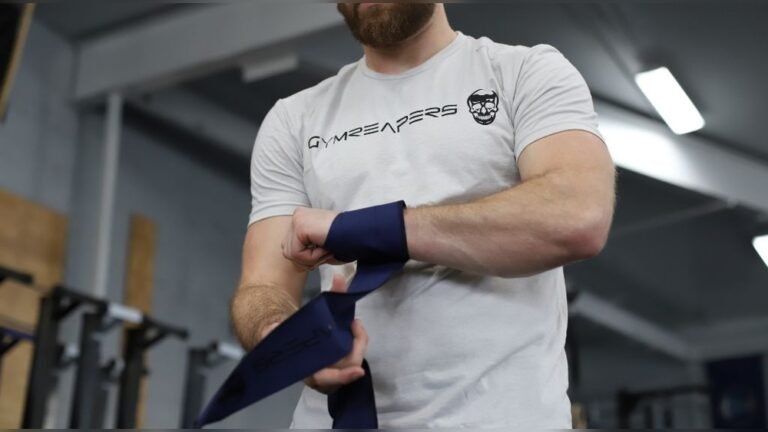
Basic Diy Wrist Wraps
Creating basic DIY wrist wraps offers a simple way to support wrists during workouts. Making your own wrist wraps saves money and allows customization. These wraps provide stability and reduce injury risk. Follow easy steps to craft durable and comfortable wrist wraps at home.
Measuring And Cutting
Start by measuring your wrist circumference. Add extra length for wrapping around the wrist. Cut a strip of sturdy fabric or elastic material. Aim for about 12 to 18 inches long and 3 to 4 inches wide. Use scissors that cut cleanly to avoid frayed edges. Accurate cutting ensures a good fit and comfort.
Sewing Techniques
Fold the fabric edges to prevent fraying before sewing. Use a straight stitch for strong seams. Double-stitch if you want extra durability. A sewing machine makes this faster but hand stitching works well too. Keep stitches close and even for a neat finish. Sewing gives the wrist wraps a professional look and lasting strength.
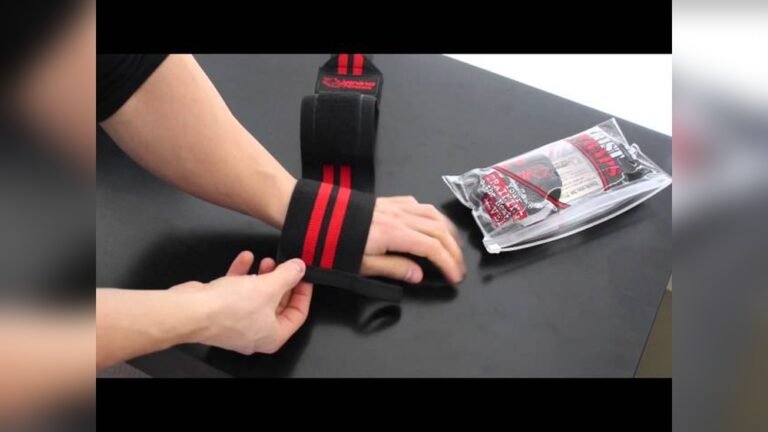
Adding Closure Options
Choose a closure that fits your needs and skill level. Velcro strips are easy to attach and adjust. Sew one piece on each end of the wrap. Snaps or buttons offer a secure fit but take more effort. You can also use hook-and-loop tape for quick fastening. Proper closure keeps the wrap tight during exercise.
Enhancing Support
Enhancing support is key to making wrist wraps effective and comfortable. Strong support helps protect your wrists during workouts or heavy lifting. Simple DIY hacks can boost the durability and stability of your wrist wraps. You can reinforce the wraps without spending much money or time.
Reinforcing Stitching
Stitching holds the layers of fabric together. Use strong thread to sew over weak spots. Double stitching adds extra strength. Focus on areas that stretch or twist the most. Reinforced seams stop the wraps from tearing early. A sturdy stitch pattern makes the wrap last longer.
Layering Fabrics
Layering different fabrics improves support and comfort. Use a soft inner layer for skin comfort. Add a firm outer layer for wrist stability. Thick fabrics reduce stretch and keep the wrist steady. Multiple layers spread pressure evenly. This reduces pain and improves grip during use.
Integrating Elastic Bands
Elastic bands add flexibility and tightness. Sew thin elastic bands inside the wrap edges. This allows the wrap to stretch but stay snug. Elastic helps the wrap fit different wrist sizes better. It also keeps the wrap from slipping during activity. Proper elastic placement improves overall wrist support.
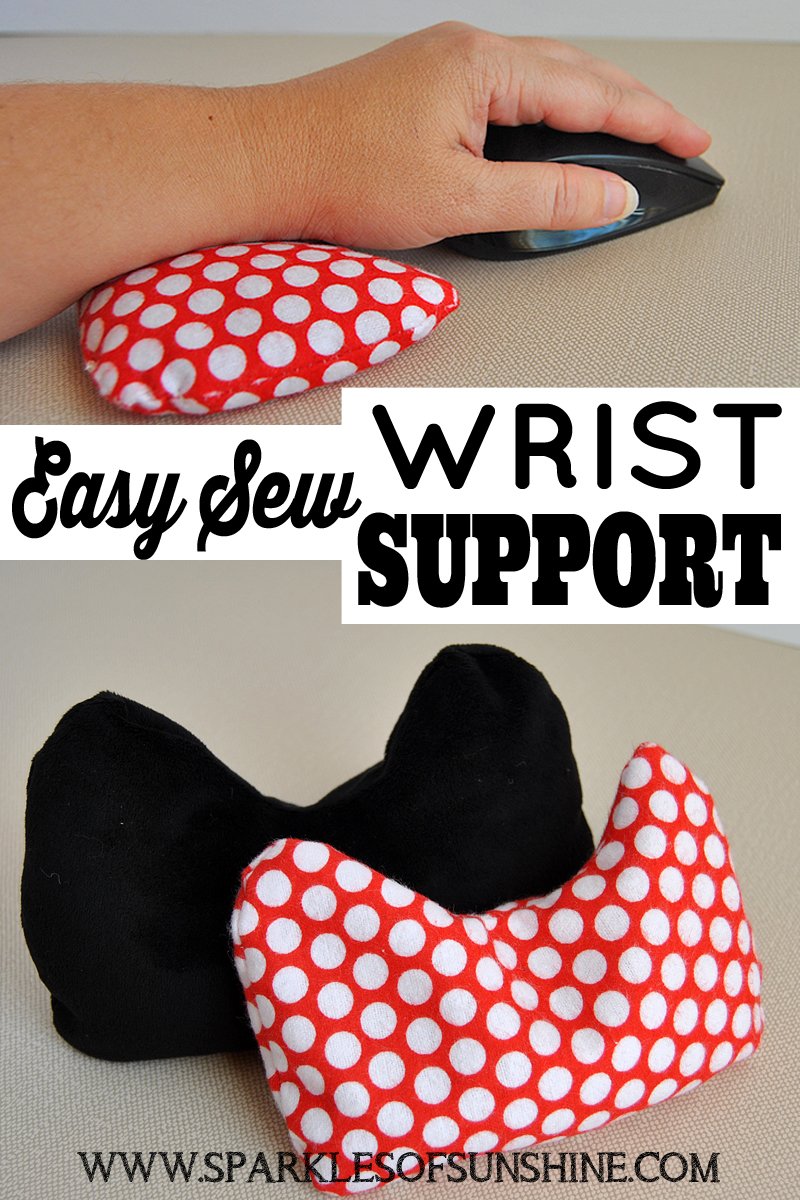
Credit: www.sparklesofsunshine.com
Boosting Comfort
Comfort is key for wrist wraps used during workouts or daily tasks. Poor comfort can cause irritation and reduce effectiveness. Simple DIY hacks can enhance comfort significantly. Small changes in materials and fit make a big difference. Focus on softness, fit, and breathability for the best results.
Using Soft Materials
Choose soft fabrics like cotton or fleece for wrist wraps. These materials reduce skin irritation and feel gentle on the skin. Avoid rough or stiff materials that can cause discomfort. Adding a thin layer of foam or felt inside can cushion the wrist. Soft materials also help absorb sweat and keep the skin dry.
Custom Fit Adjustments
Measure your wrist size carefully before making wraps. Cut the material to fit snugly but not too tight. Use adjustable closures like Velcro or elastic bands. This allows easy tightening or loosening during use. A perfect fit prevents slipping and reduces pressure points. Custom fit adjustments ensure comfort for long wear.
Breathability Tips
Choose breathable fabrics to avoid sweat buildup. Mesh or perforated materials improve airflow around the wrist. Adding small ventilation holes helps moisture escape. Avoid thick, non-porous materials that trap heat. Keeping the skin cool and dry prevents irritation and rash. Breathable wrist wraps feel fresher during workouts.
Alternative Wrap Ideas
Alternative wrap ideas offer practical options for wrist support without buying new gear. These simple solutions use everyday items or easy materials. They help protect wrists during workouts or heavy lifting.
These hacks are budget-friendly and quick to make. They also provide decent support and comfort. Try these alternative wraps to keep your wrists safe and stable.
Makeshift Wraps With Belts
Old belts can serve as strong wrist wraps. Choose a belt made of thick leather or sturdy fabric. Cut it to fit your wrist length.
Wrap the belt around your wrist tightly but comfortably. Secure it by threading the end through the buckle or tying a knot. This makeshift wrap offers good support during lifting or exercise.
Diy Lifting Straps
Use durable cloth or webbing to create your own lifting straps. Cut two long strips about 1-2 inches wide. Sew or tape the ends to prevent fraying.
Loop the strap around the bar and your wrist for extra grip. These DIY straps improve hold without needing wrist wrap sleeves. They are great for pull-ups and deadlifts.
Using Athletic Tape Wraps
Athletic tape is a versatile option for wrist support. Start by wrapping the tape around your wrist base. Add layers to reinforce areas that need more stability.
Make sure the tape is snug but not too tight to restrict blood flow. Athletic tape allows customized support and is easy to remove after workouts.
Maintenance And Care
Maintaining and caring for your DIY wrist wraps extends their life and keeps them effective. Simple steps prevent damage and preserve comfort. Regular attention avoids costly replacements and ensures safety during workouts.
Cleaning Diy Wraps
Hand wash your wraps with mild soap and cold water. Avoid harsh detergents to keep fabric strong. Rinse thoroughly to remove all soap. Air dry flat to keep shape and elasticity. Do not use a dryer or direct sunlight.
Repairing Wear And Tear
Check wraps regularly for loose threads or tears. Use a needle and strong thread to sew small rips. For frayed edges, fold and stitch to prevent further damage. Replace worn Velcro or fasteners to maintain grip. Quick fixes help avoid bigger repairs later.
Storage Tips
Store wraps in a cool, dry place away from moisture. Roll them loosely to prevent creases and damage. Avoid cramming wraps into tight spaces. Use a small pouch or box to keep them clean and dust-free. Proper storage keeps wraps ready for your next session.
Budget-friendly Hacks
Saving money on wrist wraps does not mean sacrificing quality or comfort. Simple hacks make effective wraps without high costs. These budget-friendly ideas use easy-to-find materials and smart designs. The goal is to create durable, flexible wraps that support your wrists during workouts or daily tasks.
Using Recycled Materials
Old clothes and fabric scraps work great for wrist wraps. Cut strips from worn-out t-shirts or sweatshirts. Cotton fabric is soft and breathable, perfect for wraps. Use scissors to make long, even strips about two inches wide. Wrap the fabric around your wrist and secure with knots or safety pins. Recycled materials reduce waste and save money.
Multi-purpose Wrap Designs
Create wraps that serve more than one function. For example, use elastic bands that can also fit as headbands or ankle supports. Choose stretchy fabric for comfort and flexibility. Add Velcro or snaps for adjustable tightness. Multi-purpose wraps reduce the need to buy separate items. They keep your gear simple and affordable.
Quick Fixes On The Go
Use athletic tape or duct tape for fast wrist support. Tear a strip and wrap it firmly around the wrist. This method works well during emergencies or when you forget your wraps. Carry a small roll in your gym bag or car. Quick fixes help maintain wrist stability without extra cost or bulk. Perfect for last-minute needs.

Credit: www.ravecommercial.com
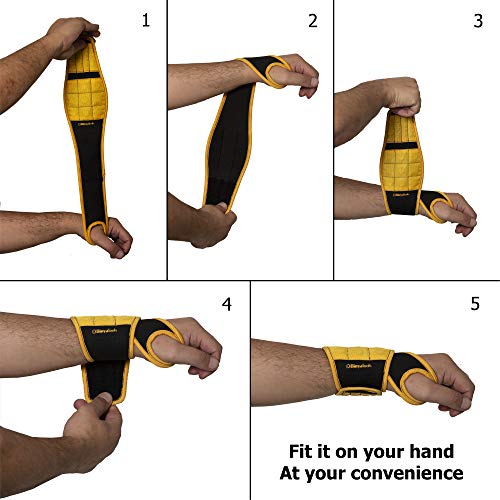
Credit: www.ravecommercial.com
Frequently Asked Questions
What To Use Instead Of Wrist Wraps?
Use athletic tape, climbing webbing, or DIY cotton wraps as effective alternatives to wrist wraps for support.
How To Make Diy Wrist Straps?
Cut durable fabric or climbing webbing to desired length. Sew or tape ends to prevent fraying. Add Velcro for adjustability. Wrap around wrists tightly for support.
How To Make A Makeshift Wrist Wrap?
To make a makeshift wrist wrap, use a long strip of cloth or athletic tape. Wrap it snugly around your wrist for support. Secure the end by tucking it in or tying a knot. Ensure it’s tight but comfortable to avoid cutting off circulation.
What Can I Use If I Don’t Have Lifting Straps?
Use athletic tape, climbing webbing, or a belt as makeshift lifting straps. Dead hangs also improve grip without straps.
Conclusion
DIY wrist wrap hacks save money and fit your needs perfectly. Use simple materials like fabric or athletic tape. Customize wraps for comfort and support during workouts. Experiment with different styles to find what works best. These easy hacks help protect wrists and improve lifting safety.
Keep practicing and adjusting for the best results. Wrist wraps made at home can be just as effective. Enjoy the process and stay consistent with your fitness goals.