If you want to build stronger arms, chest, and shoulders, learning how to use a dip station is a great place to start. You might have seen this simple but powerful piece of equipment at the gym and wondered how to get the most out of it.
Whether you’re a beginner or looking to perfect your form, this guide will walk you through everything you need to know. By the end, you’ll feel confident stepping up to the dip station and performing dips safely and effectively. Ready to transform your upper body strength?
Let’s dive in.
Dip Station Basics
The dip station is a simple yet effective tool for upper body workouts. It helps build strength and shape muscles. Understanding the dip station basics is key to using it right. This section covers what a dip station is, which muscles it targets, and the types you can find.
What Is A Dip Station
A dip station is a piece of gym equipment with two parallel bars. These bars are at a height that allows you to support your body weight. You hold the bars and lower and raise your body by bending your arms. The dip motion focuses on pushing muscles. It is popular for bodyweight strength training.
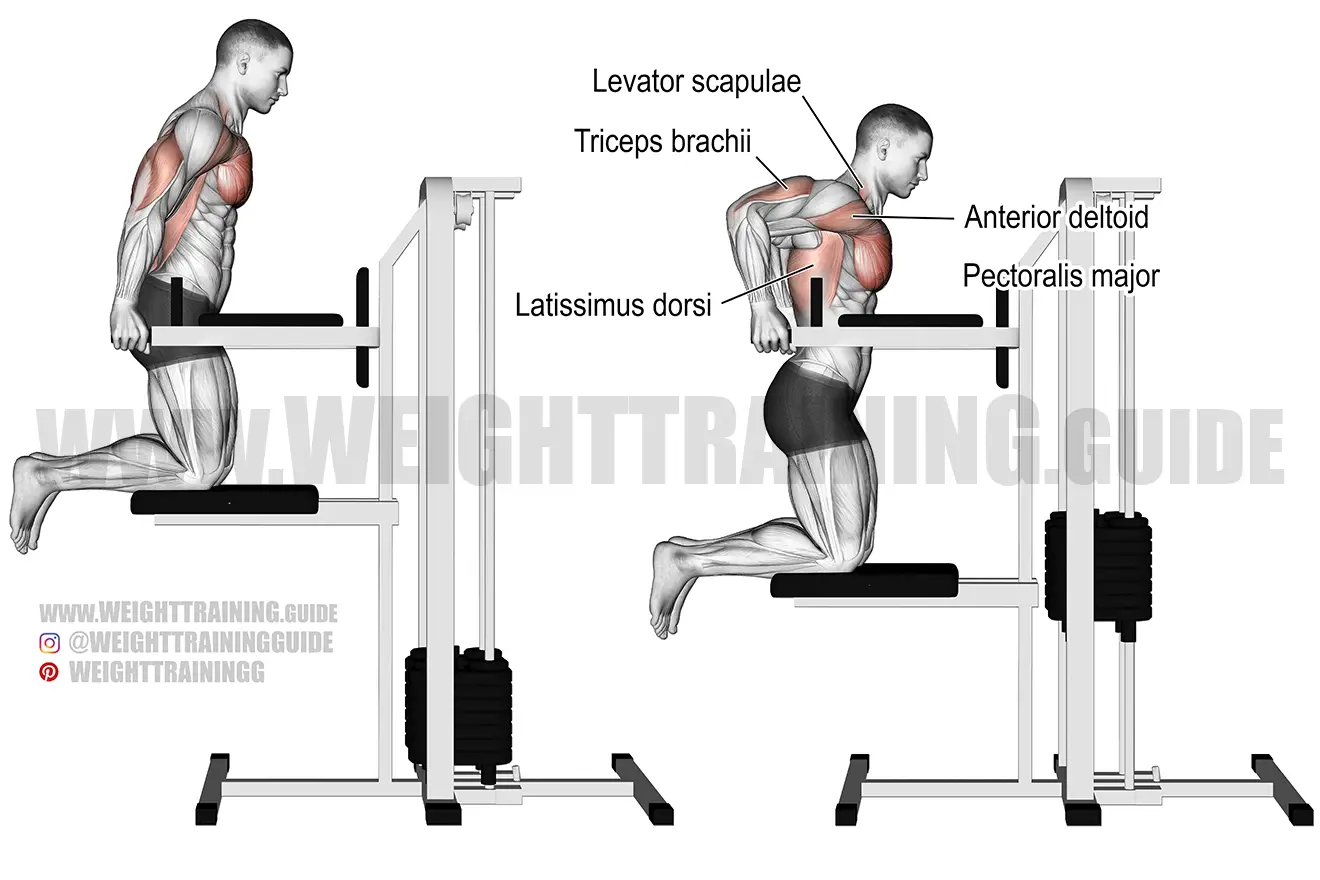
Muscles Targeted
Dips mainly work the triceps, the muscles on the back of your upper arms. They also engage the chest, especially the lower part. The shoulders help stabilize your body during dips. Core muscles activate to keep your body steady. This makes dips a compound exercise that builds strength in many areas.
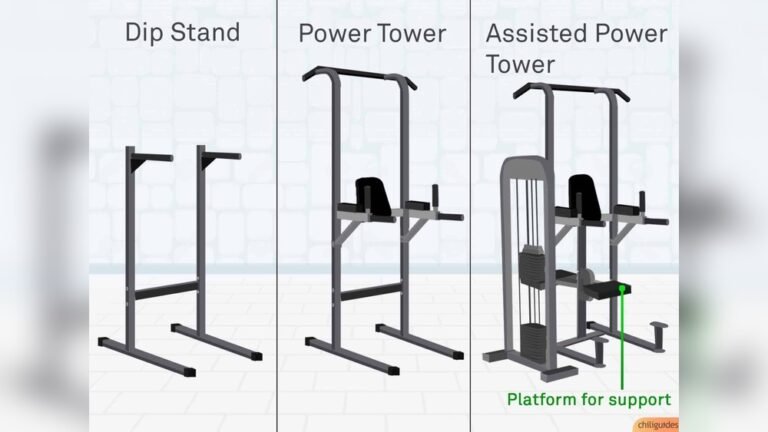
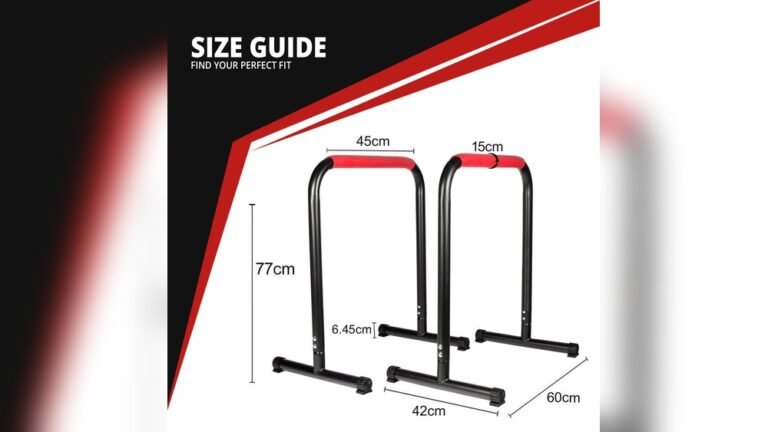
Types Of Dip Stations
There are several types of dip stations to choose from. Free-standing dip stations are stable and allow full movement. Wall-mounted dip bars save space and are easy to install. Assisted dip machines have support to help beginners lift their weight. Some dip stations combine pull-up bars for more workout options.
Credit: weighttraining.guide
Setting Up Correctly
Setting up your dip station correctly is key for a safe and effective workout. Proper setup helps you target the right muscles and avoid injuries. Spend a few moments adjusting your grip, body position, and safety measures before you start. This ensures each dip feels comfortable and controlled.
Proper Grip And Hand Placement
Place your hands firmly on the bars, shoulder-width apart. Your fingers should wrap around the bars for a secure hold. Keep your wrists straight to reduce strain. Avoid gripping too wide or too narrow, as this can cause discomfort or reduce effectiveness.
Body Positioning Tips
Stand tall and engage your core before lifting yourself up. Keep your chest slightly forward and shoulders down. Avoid shrugging your shoulders or leaning too far forward. Maintain a slight bend in your elbows at the start. This helps protect your joints and keeps tension on your muscles.
Safety Precautions
Check the dip station for stability before use. Make sure the bars are secure and not slippery. Warm up your shoulders and arms to prepare your muscles. Stop immediately if you feel pain or discomfort. Use assistance bands or a spotter if you are new or need support.
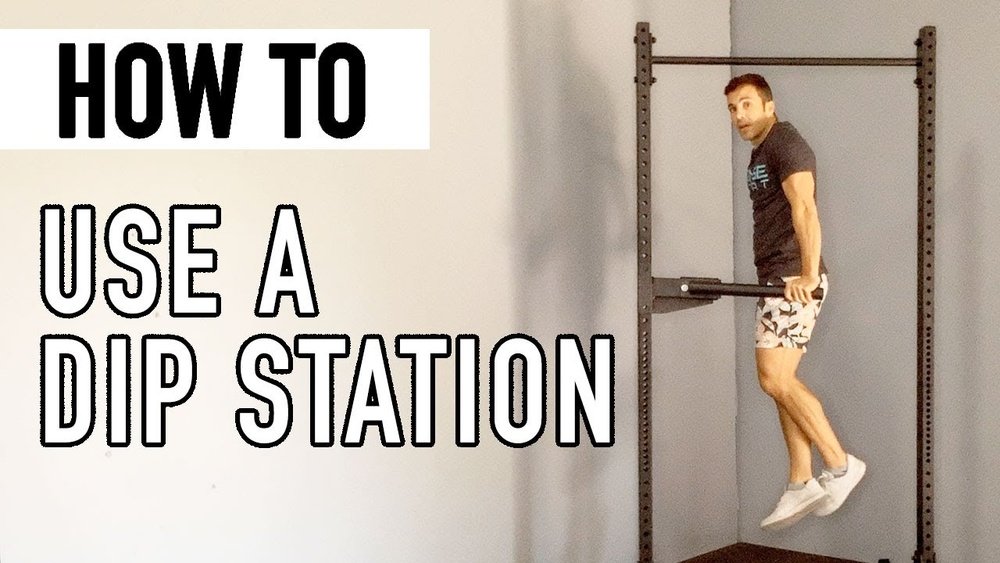
Mastering The Dip Technique
Mastering the dip technique is essential for safe and effective workouts. Proper form helps target the right muscles and avoids injury. This section breaks down the dip into clear steps to improve your skill and strength.
Starting Position
Stand between the dip bars and grip them firmly. Keep your arms straight and shoulders down. Lift your body so your feet are off the ground. Engage your core to stay stable and avoid swinging.
Lowering Phase
Bend your elbows slowly and lower your body. Keep your chest up and lean slightly forward. Lower until your shoulders are just below your elbows. Control the movement to avoid dropping too fast.
Pushing Up Phase
Push through your palms to lift your body back up. Extend your elbows fully but avoid locking them. Keep your body steady and core tight. Return to the starting position smoothly.
Common Form Mistakes
Avoid flaring your elbows out wide; keep them close. Don’t let your shoulders shrug or rise. Avoid swinging or using momentum to move. Keep your neck neutral and gaze forward. These errors reduce effectiveness and increase injury risk.

Credit: summerfunfitness.com
Modifications For Beginners
Starting dip station exercises can be hard for beginners. The full dip needs strong arms and shoulders. Using modifications helps build strength safely. These changes reduce the difficulty. They allow gradual progress while avoiding injury. Try these beginner-friendly dip station modifications to gain confidence and strength.
Assisted Dips With Bands Or Machines
Use resistance bands or assisted dip machines to support your weight. Loop a band around the dip bars and place your knees or feet in it. The band helps lift part of your body, making the dip easier. Assisted dip machines have a platform to stand on, reducing the load. These tools let you practice proper form and increase reps safely.
Negative Dips
Negative dips focus on the lowering phase of the movement. Step up to the top position of the dip. Slowly lower your body down with control. Use a step or jump up to return to the start. Negative dips build strength in the muscles needed for a full dip. They also improve control and stability.
Partial Range Of Motion
Start with smaller movements instead of going all the way down. Lower yourself only halfway or less. This reduces strain and helps develop strength gradually. Increase the range of motion as you get stronger. Partial dips train your muscles safely and improve your dip form over time.
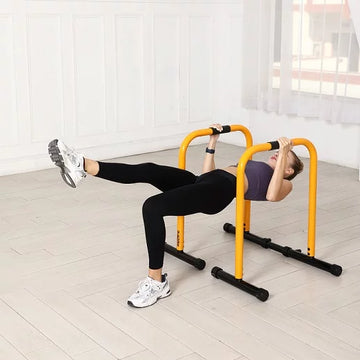
Advanced Dip Variations
Advanced dip variations increase the challenge and target muscles differently. They help build strength and improve muscle control. These variations add intensity to your workout. Using a dip station, you can explore new dip styles safely. Each type works muscles in unique ways. This section covers weighted dips, straight bar dips, and ring dips.
Weighted Dips
Weighted dips increase resistance to build muscle faster. Use a dip belt with weights or hold a dumbbell between your feet. Keep your form strict to avoid injury. Lower your body slowly and push up powerfully. Weighted dips strengthen triceps, chest, and shoulders effectively. Start with light weights and increase gradually.
Straight Bar Dips
Straight bar dips require balance and control on a single bar. Grip the bar firmly with both hands. Keep your body close to the bar during the movement. This dip variation engages your chest and shoulders more deeply. It also improves grip strength and coordination. Try to lower yourself until your shoulders are below your elbows.
Ring Dips
Ring dips use gymnastic rings that move freely, adding instability. This forces your muscles to work harder to stabilize. Grip the rings tightly and keep your body straight. Lower slowly and push back up with control. Ring dips develop shoulder stability and core strength. Beginners should start with assisted ring dips for safety.
Complementary Exercises
Complementary exercises enhance your dip station workouts. They target different muscle groups. This balance helps prevent injuries and improves strength. Incorporate these moves to build a stronger upper body and core.
Pull-ups And Rows
Pull-ups work your back and biceps. They balance the pushing motion of dips. Rows also target the back muscles. Use a dip station to do inverted rows. These exercises improve posture and shoulder health.
Core Strengthening Moves
A strong core supports all dip station exercises. Try hanging leg raises or knee tucks. These moves engage your abs and hip flexors. A stable core helps maintain good form and balance.
Push-up Variations
Push-ups complement dips by targeting the chest and triceps. Try incline or decline push-ups to vary the load. They improve overall pressing strength. These variations keep your workouts fresh and effective.
Creating A Dip Station Workout
Creating a dip station workout helps build upper body strength and endurance. Dips target your triceps, chest, and shoulders. Structuring your workout improves results and prevents plateaus. Follow simple steps to create an effective dip station routine.
Sets And Repetitions For Strength
Start with 3 to 4 sets of dips per session. Perform 6 to 8 repetitions in each set for strength gains. Rest for 1 to 2 minutes between sets to recover. Keep your form strict and controlled during each dip. Adjust reps if you feel your muscles are not challenged enough.
Integrating Dips Into Full-body Routines
Combine dips with exercises targeting other muscle groups. For example, add squats or pull-ups to your routine. This approach balances muscle development and prevents injury. Alternate dip exercises with lower body movements for better workout flow. Full-body routines save time and improve overall fitness.
Progression Strategies
Increase difficulty gradually by adding more reps or sets. Use weighted belts or vests for added resistance. Try slower dips to increase muscle tension. Assisted dips can help beginners build strength safely. Track your progress weekly to adjust your workout plan.
Credit: relifesports.com
Preventing Injuries
Using a dip station strengthens your upper body effectively. Avoiding injuries keeps your progress steady and pain-free. Injury prevention requires care before, during, and after exercise. Focus on warm-ups, joint health, and listening to your body signals.
Warm-up Tips
Start with light cardio to increase blood flow. Arm circles and shoulder shrugs prepare your muscles. Perform gentle stretches targeting the chest, shoulders, and triceps. Warm muscles reduce the risk of strains and tears. Always spend 5 to 10 minutes warming up.
Joint Care And Mobility
Healthy joints improve dip performance and reduce pain. Use slow, controlled movements to protect your elbows and shoulders. Include mobility exercises like shoulder rolls and wrist stretches. Strengthen supporting muscles around the joints. Avoid locking your elbows fully during dips.
Recognizing Overtraining Signs
Watch for persistent soreness or joint pain after workouts. Decreased strength or performance signals fatigue. Increased irritability or trouble sleeping may indicate overtraining. Take rest days to allow recovery. Adjust your dip routine if you feel pain or discomfort.
Frequently Asked Questions
How To Use The Dip Station?
Grip the dip bars firmly and lift your body by straightening arms. Lower slowly by bending elbows to 90 degrees. Keep elbows close and core tight. Push back up to start position. Repeat for desired reps and sets, maintaining controlled movement and proper form throughout.
How To Use A Dip Bar For Beginners?
Grip the dip bars firmly and keep elbows close to your body. Lower yourself slowly until shoulders dip below elbows. Push back up while leaning slightly forward. Start with assisted dips or bench dips to build strength. Maintain controlled, smooth movements and proper posture throughout.
How To Do A Dip For Beginners?
Start by gripping the dip bars firmly, keep elbows close to your body, and lower yourself slowly. Stop when your shoulders align with your elbows. Push back up steadily without locking elbows. Use an assisted dip machine or resistance bands if needed.
Maintain good posture throughout.
What Are Common Dip Mistakes?
Common dip mistakes include flaring elbows outward, leaning too far forward, incomplete range of motion, and poor wrist alignment. Avoid swinging the body or rushing reps to prevent injury. Maintain controlled, smooth movements and keep elbows close to the body for effective dips.
Conclusion
Using a dip station regularly builds upper body strength effectively. Start slow and focus on good form each time. Adjust the difficulty as your muscles get stronger. Remember to breathe steadily and avoid rushing your movements. Consistency is key for steady progress and injury prevention.
Enjoy the benefits of stronger arms, chest, and shoulders. Keep practicing, and you will see improvement soon. Stay patient and motivated throughout your fitness journey.