
If you’re using a dip station to build strength and sculpt your upper body, safety should be your top priority. Dips can be incredibly effective, but only when done right.
Without the proper precautions, you risk injury that could set back your progress. You’ll discover simple yet essential safety tips to protect your shoulders, elbows, and wrists while maximizing your workout results. Keep reading to learn how to make every dip count—safely and confidently.
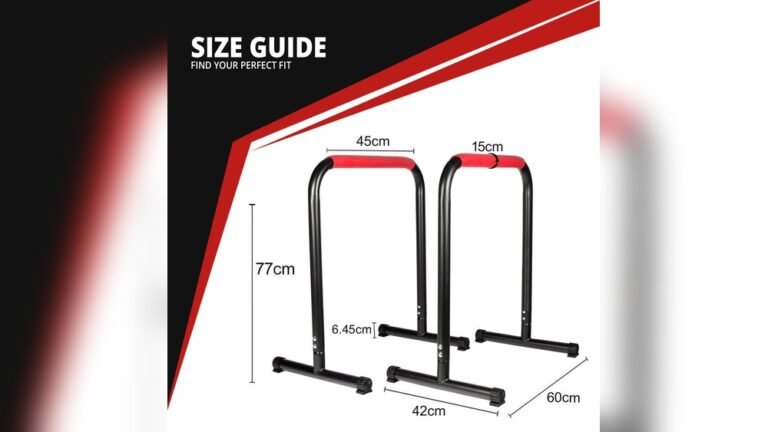
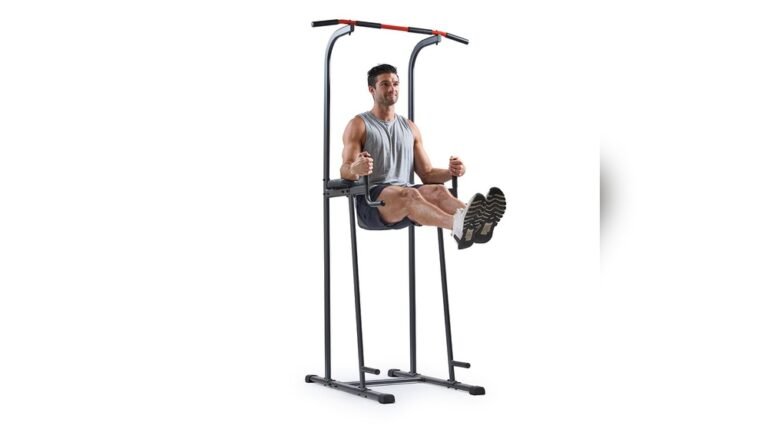
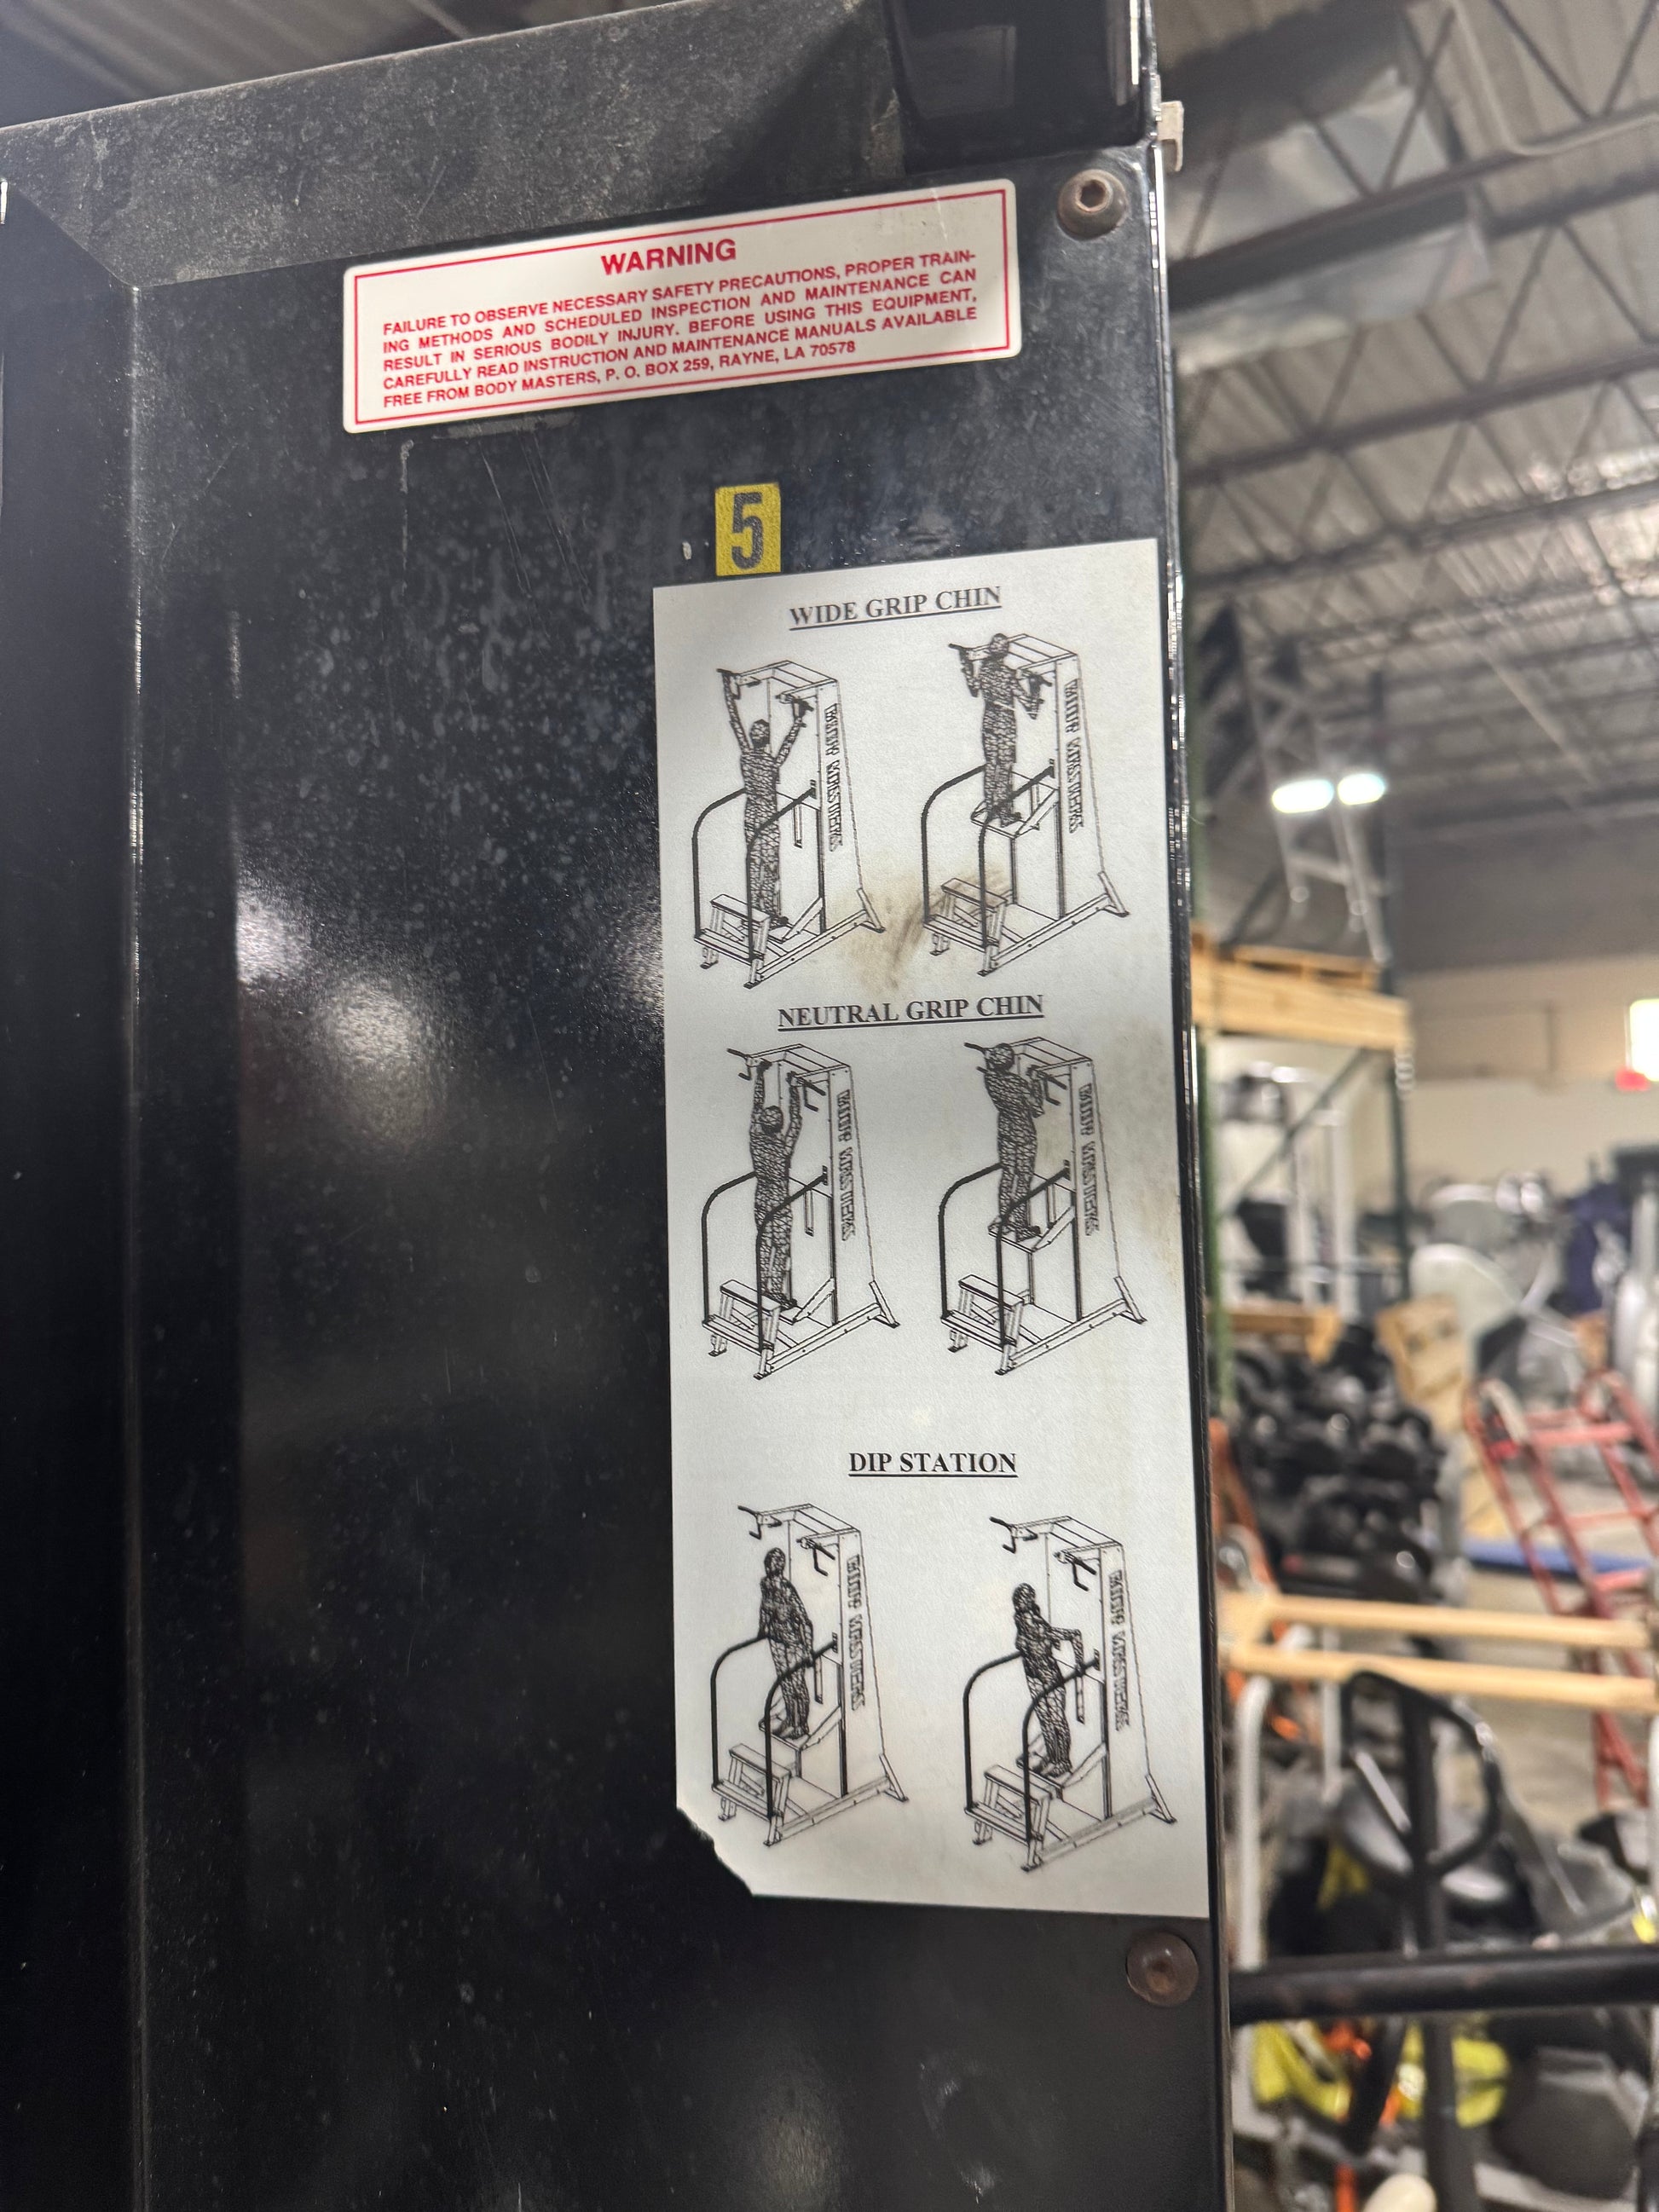
Choosing The Right Dip Station
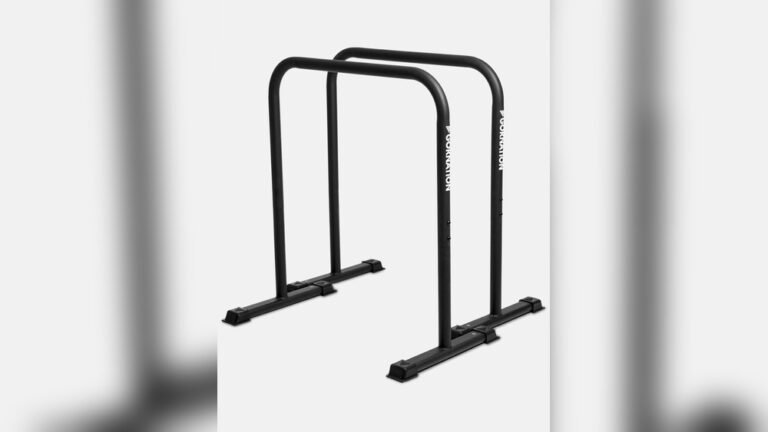
Choosing the right dip station is key to safe and effective workouts. A good dip station supports your body well and prevents accidents. It must match your fitness level and space. Quality, weight capacity, and placement matter most.
Material And Build Quality
Strong materials like steel ensure durability. Look for powder-coated or rust-resistant finishes. Solid welds and joints add safety. Avoid plastic parts that may break under pressure. A sturdy frame keeps the station steady during use.
Weight Capacity And Stability
Check the maximum weight the dip station can hold. It must support your body and extra weights safely. Stability prevents tipping over or wobbling. Wide bases and rubber feet improve grip on the floor. Stability reduces injury risk during dips.
Space And Placement Considerations
Choose a spot with enough room around the dip station. You need space to move freely without hitting objects. Flat, level floors work best for stability. Avoid placing it near fragile items or clutter. Proper placement helps maintain balance and safety.
Credit: www.gornation.com
Preparing For Safe Workouts
Preparing for safe workouts on a dip station helps prevent injuries and improves performance. Taking time before exercise ensures your body and equipment are ready. This preparation builds confidence and reduces risks during your dip routine.
Inspecting Equipment Before Use
Check the dip station for stability. Look for loose screws or bolts. Make sure the bars are secure and do not wobble. Remove any dirt or sweat that may cause slipping. Confirm the surface around the station is clear and safe.
Proper Warm-up Routines
Start with light cardio to increase blood flow. Move your arms and shoulders gently to loosen joints. Perform dynamic stretches like arm circles or shoulder rolls. Warm muscles reduce the chance of strains and improve movement quality. Spend at least five to ten minutes warming up before dips.
Using Assistance Or Spotters
Use a spotter for added safety during challenging dips. A spotter can help control your movement and prevent falls. Assistance bands or machines also provide support and reduce body weight load. These tools help build strength safely before progressing to unassisted dips.
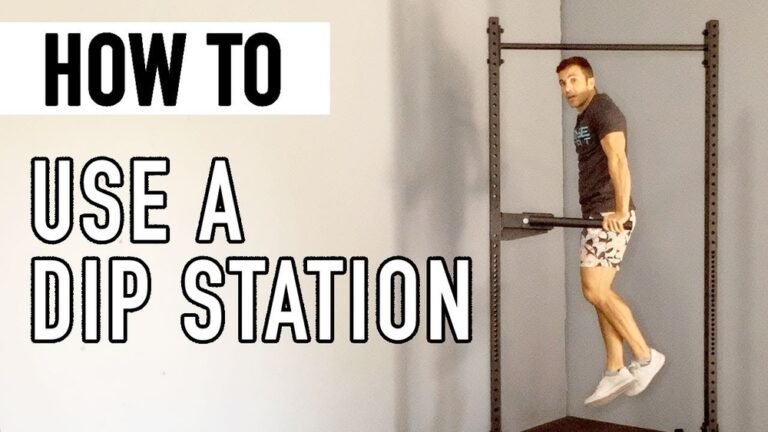
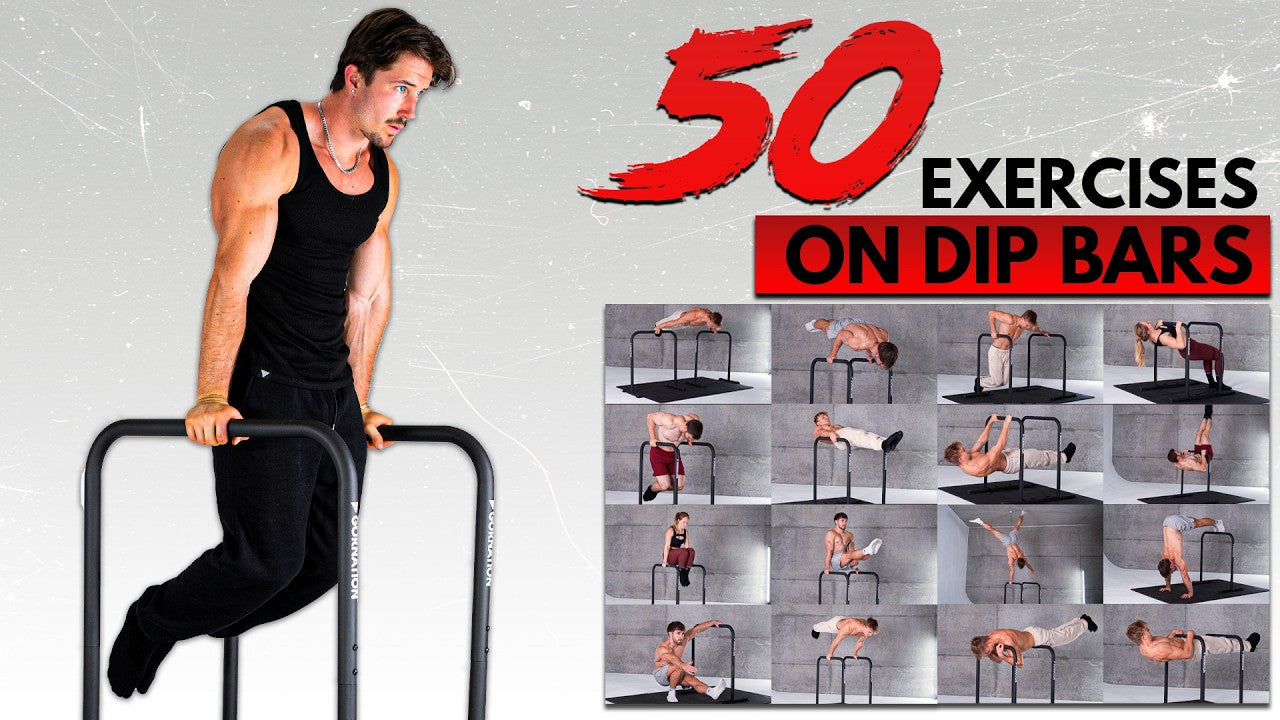
Correct Dip Techniques
Using correct dip techniques protects your shoulders and elbows from injury. It helps you get stronger and build muscle safely. Focus on hand and elbow placement, body alignment, and controlled movement. These details keep your form good and reduce strain.
Hand And Elbow Positioning
Place your hands firmly on the bars, shoulder-width apart. Keep your wrists straight to avoid extra pressure. Elbows should stay close to your body, not flaring out. This position helps target the chest and triceps while protecting joints.
Body Alignment And Movement
Keep your body upright and your core tight. Avoid swinging or leaning too far forward. Move smoothly, lowering your body by bending your arms. Pause briefly at the bottom, then push back up. Controlled movement prevents stress on shoulders.
Depth And Range Of Motion
Lower yourself until your shoulders are just below your elbows. Do not dip too deep to avoid shoulder strain. Maintain a natural range of motion that feels comfortable. Proper depth helps build strength without risking injury.
Credit: midwestusedfitnessequipment.com
Common Mistakes To Avoid
Using a dip station is great for building strength. Avoid mistakes to stay safe and get better results. Some common errors can cause injuries or reduce workout effectiveness. Focus on proper form and control during each dip.
Overextending Shoulders
Overextending shoulders strains joints and muscles. Lowering too deep can push shoulders beyond safe limits. Keep your elbows at a comfortable angle. Stop if you feel pain or tightness. Controlled movement protects your shoulder health and improves strength.
Uneven Weight Distribution
Uneven weight causes imbalance and instability. Leaning more on one side risks falling or injury. Center your body weight between both arms. Check your hand placement on the bars. Balanced weight keeps you steady and helps muscles work evenly.
Jerky Or Fast Movements
Jerky or fast dips increase injury risk. Sudden moves strain muscles and joints. Use slow and steady motions for each rep. Control your speed to maintain good form. Smooth movements improve muscle engagement and reduce harm.
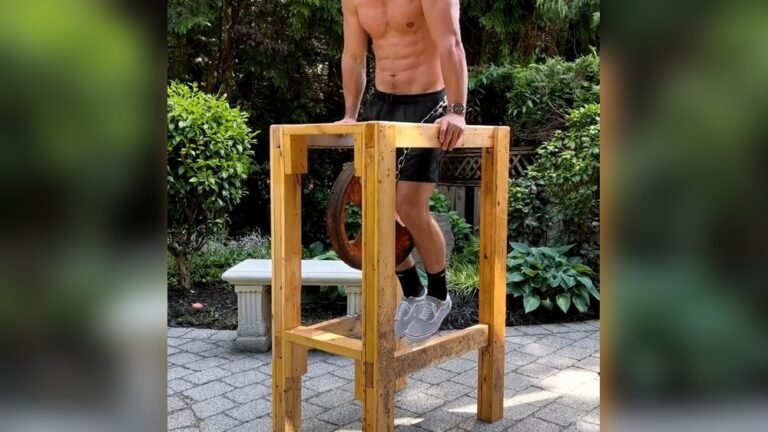
Safety Tips For Weighted Dips
Weighted dips add challenge and strength gains to your routine. They also increase injury risk without proper care. Following safety tips helps protect your shoulders and joints. It ensures better performance and steady progress. Focus on weight placement, progression, and safety gear for best results.
Proper Weight Placement
Place the weight low on your body, near the hips or thighs. Avoid holding weights high on your chest or neck. This lowers your center of gravity and improves balance. Secure the weight with a belt or chain to prevent slipping. Keep your body stable during each dip repetition.
Gradual Progression
Start with light weights to build strength and form. Increase weight slowly to avoid strain or injury. Add small increments over weeks, not days. Listen to your body and rest if you feel pain. Consistent progress helps your muscles adapt safely.
Using Safety Accessories
Use a dip belt designed for weighted exercises. It keeps the plates secure and balanced. Consider wrist wraps to support your joints under heavy load. Chalk can improve grip and prevent slipping. Always check equipment before your workout for damage.
Maintaining Your Dip Station
Maintaining your dip station ensures safe and effective workouts. Regular care keeps the equipment stable and extends its life. Simple maintenance tasks prevent accidents and equipment damage. Follow these key steps to keep your dip station in top condition.
Regular Tightening And Checks
Check all bolts and screws weekly. Tighten any loose parts immediately. Loose components can cause instability and accidents. Inspect the frame for cracks or bends. Early detection avoids serious damage and injury.
Cleaning And Rust Prevention
Wipe down the dip station after each use. Remove sweat and dirt to prevent corrosion. Use a mild cleaner suitable for metal surfaces. Dry the equipment thoroughly to stop rust. Store in a dry place away from moisture.
Handle Replacement And Repairs
Inspect handles for wear or damage regularly. Replace handles that show cracks or peeling grip tape. Damaged handles affect your grip and safety. Use manufacturer-approved parts for replacements. Fix any minor issues quickly to avoid bigger problems.
Diy Safety Enhancements
Improving the safety of your dip station at home can protect you from injuries. Simple DIY safety enhancements make your workouts safer and more effective. These adjustments require basic tools and materials. Anyone can apply them with a little effort.
Adding Support Bars
Support bars help to strengthen your dip station frame. Install horizontal bars between the vertical posts. This distributes your body weight more evenly. Use metal or strong wooden bars for best results. Secure the bars tightly with bolts or screws. Check regularly for any loosening to avoid accidents.
Improving Stability
Stability prevents your dip station from wobbling or tipping over. Place non-slip pads under each leg to stop sliding. Attach wider base plates to increase the footprint. This reduces the risk of tipping during exercise. Make sure the surface where you place the station is flat. Test the station by applying force before use.
Custom Modifications For Safety
Custom modifications tailor your dip station to your needs. Add cushioned grips to bars to protect your hands. Attach safety straps or bands to catch slips. Paint bright colors on edges to increase visibility. These small changes reduce risks and improve comfort. Always inspect your modifications before each workout session.
Troubleshooting Common Issues
Troubleshooting common issues with your dip station helps keep your workouts safe. Problems like wobbling, worn handles, or surface damage can cause accidents. Fixing these early protects you from injury and extends your equipment’s life. Check your dip station regularly for signs of trouble. Simple fixes often improve stability and comfort. Here are some key tips to address common problems.
Fixing Wobbly Equipment
Wobbly dip stations are unsafe and can cause falls. Start by tightening all bolts and screws. Use a wrench or screwdriver to secure loose parts. Check the floor surface for uneven spots under the station. Place rubber mats or pads to prevent slipping and wobbling. If the frame is bent or damaged, replace it immediately. Stability ensures a safe and confident workout.
Addressing Handle Wear
Handles wear out with regular use and sweat. Inspect the grips for cracks or peeling material. Replace worn grips with new, slip-resistant covers. Clean handles regularly to remove dirt and sweat buildup. Use grip tape or gloves for extra security. Good handles prevent hand slips and improve your workout control. Handle care is key for long-term safety.
Dealing With Surface Damage
Surface damage like rust or scratches weakens the dip station. Remove rust spots using sandpaper or a wire brush. Apply rust-resistant paint to protect metal parts. Wipe down surfaces after each use to keep them dry. Avoid leaving the station outside in wet conditions. Repair dents or bent parts quickly to avoid accidents. A smooth surface keeps your station strong and safe.

Credit: www.gornation.com
Frequently Asked Questions
How To Perform Dips Safely?
Grip stable bars, keep elbows above wrists, lower yourself until shoulders are below elbows, maintain vertical torso, and push up smoothly.
What Are Common Dip Mistakes?
Common dip mistakes include improper form, flaring elbows, going too low, unstable grip, and neglecting shoulder stability. Avoid jerky movements and ensure even force distribution.
What Are Common Mistakes With Weighted Dips?
Common weighted dip mistakes include poor shoulder positioning, excessive forward lean, dropping too low, unstable weight placement, and neglecting warm-up.
How Far Down Should You Go For A Dip?
Lower your body until your shoulders dip slightly below your elbows. Avoid going too deep to protect your shoulder joints. Maintain control and keep your form vertical throughout the movement. Stop if you feel pain or discomfort.
Conclusion
Staying safe on a dip station helps you train better and longer. Always check the equipment before use. Keep your movements slow and controlled to avoid injury. Use proper form to protect your shoulders and wrists. Don’t push beyond your limits; progress step by step.
Remember, safety leads to steady strength gains. Follow these simple tips for a safer dip workout. Your body will thank you with better results.