Looking to get the most out of your air bike without breaking the bank? You’re in the right place.
Whether you want to boost your workout, fix common annoyances, or even build your own air bike from scratch, these simple DIY hacks will make your experience smoother and more effective. You don’t need fancy tools or expert skills—just a bit of creativity and the right tips.
Ready to transform your ride and see results faster? Keep reading and discover easy hacks that anyone can try today.
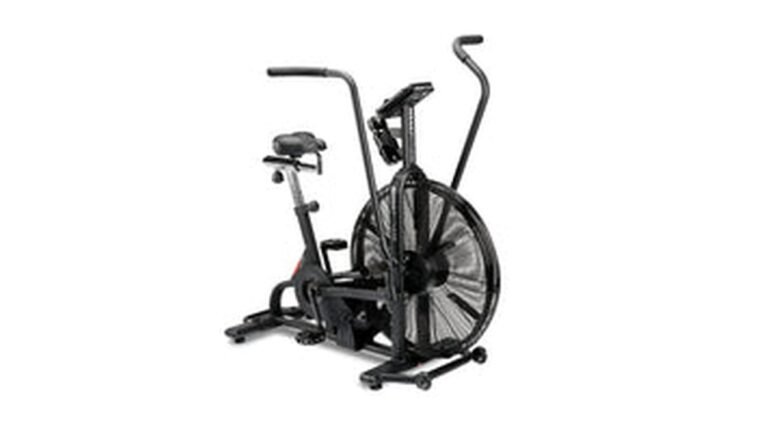
Credit: www.reddit.com
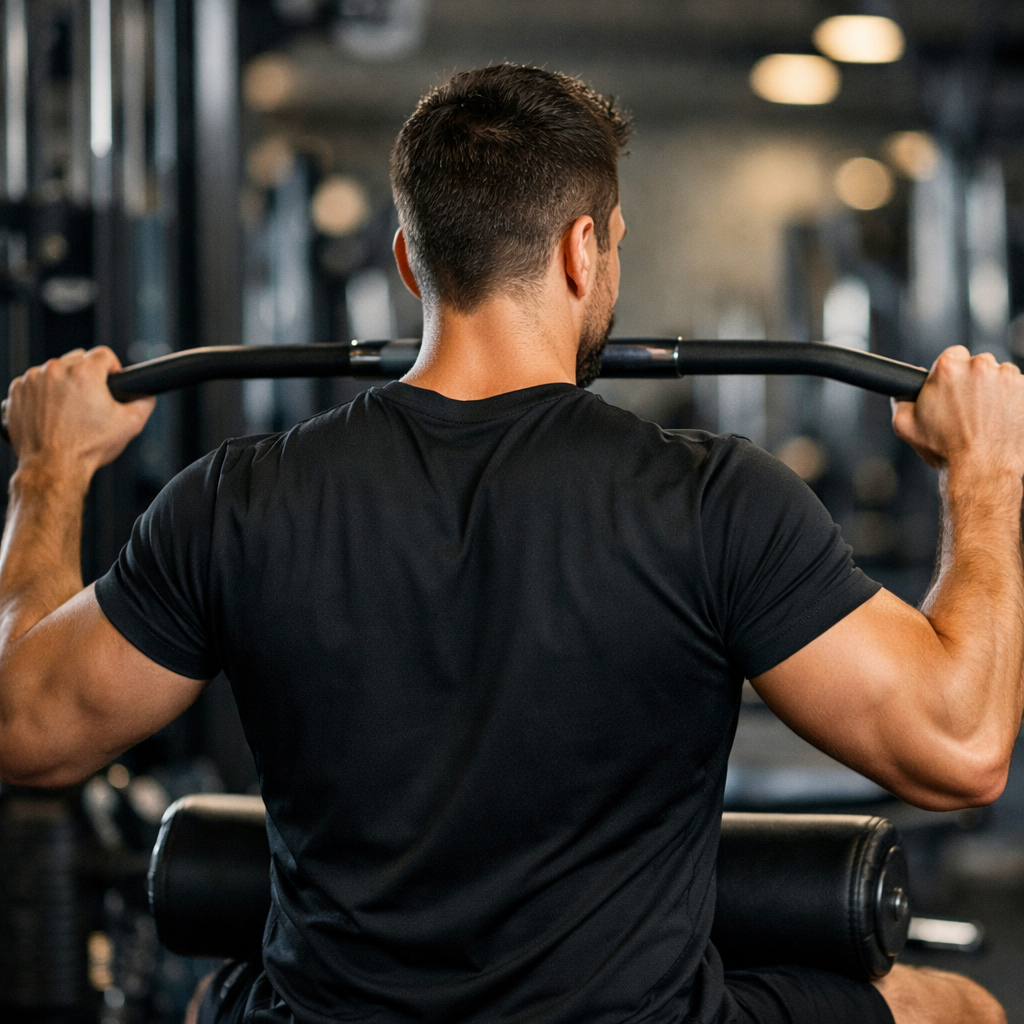
Adjusting Saddle Position
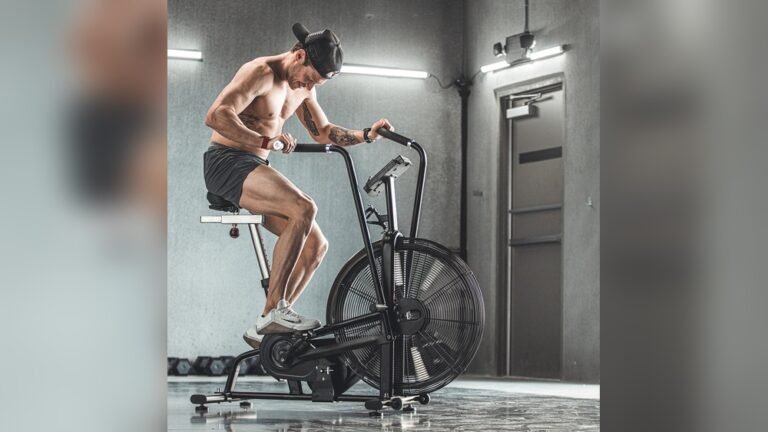
Adjusting the saddle position on your air bike improves comfort and performance. A well-set saddle helps you pedal efficiently and avoid injury. Small changes in height and position make a big difference during workouts. Follow these simple tips to find the best setup for your body.
Optimal Saddle Height
Set the saddle height so your leg is nearly straight at the pedal’s lowest point. Avoid locking your knee or bending it too much. The right height reduces knee strain and increases power. Use a ruler or tape measure to check the distance from the saddle to the pedal. Fine-tune the height in small steps for better comfort.
Forward And Backward Seat Adjustment
Move the seat forward or backward to align your knee with your foot. When the pedal is at 9 o’clock, your knee should be above the center of your foot. This position helps with balance and pedal control. Adjust the seat in small increments and test it by pedaling slowly. Proper seat placement prevents unnecessary stress on your joints.
Knee Alignment Tips
Keep your knees tracking straight during pedaling. Avoid letting them move inward or outward. Straight knee alignment protects your joints and improves pedaling efficiency. Use a mirror or video to watch your knee movement. If knees shift too much, adjust the saddle or your foot position on the pedals.
Improving Pedal Efficiency
Improving pedal efficiency on an air bike helps you get the most from every workout. It reduces fatigue and increases your power output. Small changes in technique and bike setup can make a big difference.
Focus on smooth, consistent pedaling. Avoid jerky movements to maintain momentum. Proper adjustments and simple hacks can enhance your riding experience and help you burn more calories.
Proper Pedal Stroke Technique
Start by pushing down firmly on the pedal. Then pull back and up in a circular motion. This technique uses more muscles and spreads the effort evenly. Avoid just pushing down. This wastes energy and tires your legs faster.
Practice a smooth pedal stroke. Visualize drawing a circle with your foot. This helps keep your cadence steady and improves endurance. Try to keep your foot flat on the pedal throughout the stroke.
Using Foot Placement For Power
Place the ball of your foot over the pedal spindle. This position offers the best leverage for power. Avoid placing your foot too far forward or backward. Incorrect placement reduces efficiency and can cause pain.
Check your foot position regularly. Minor shifts can affect your pedal stroke. Use shoes with stiff soles for better power transfer. This keeps your foot stable and maximizes force on the pedals.
Chain And Gear Modifications
Adjust your chain tension to avoid slipping. A loose chain wastes energy and can damage the bike. Tighten it just enough for smooth movement without strain.
Consider swapping to a gear ratio that matches your fitness level. Lower gears help with endurance, while higher gears increase resistance. Experiment to find a setup that improves your pedal speed and power balance.
Lubricate the chain regularly. A clean, well-oiled chain reduces friction. This makes pedaling easier and extends the life of your bike parts.
Enhancing Air Resistance
Enhancing air resistance on your air bike can boost workout intensity. It challenges your muscles more and improves endurance. Simple DIY upgrades make your bike feel tougher without costly parts. This section covers three easy hacks to increase air resistance effectively.
Fan Blade Upgrades
Replacing the stock fan blades with larger or angled ones improves resistance. Bigger blades push more air, making pedaling harder. You can find compatible blades online or create your own from lightweight materials. Make sure the blades are balanced for smooth rotation and safety.
Adding Wind Guards
Wind guards limit air escape and direct airflow properly. Installing simple barriers around the fan increases resistance by trapping air. Use clear plastic or metal sheets shaped to fit your bike’s frame. Secure them tightly to avoid vibration during your workout.
Customizing Airflow Paths
Adjusting how air moves around the fan changes resistance levels. Create channels or funnels that guide air through narrow spaces. This restriction makes pedaling tougher without heavy parts. Experiment with different shapes and sizes for the best airflow control.
Boosting Durability And Comfort
Enhancing the durability and comfort of your air bike improves your riding experience. Stronger parts last longer, while better comfort helps you ride longer without pain. Simple DIY hacks can make your air bike tougher and more enjoyable.
Reinforcing Frame Components
Check weak points on the frame for cracks or bends. Use metal brackets or steel plates to support joints. Tighten all bolts and screws regularly to avoid wobbling. Adding protective tape or rubber covers prevents scratches and rust. These steps keep the frame stable and safe during rides.
Upgrading Seat Padding
Replace the original seat foam with thicker, high-density foam. Use gel pads or memory foam for extra cushioning. Wrap the seat with a soft, durable cover to avoid wear. Secure the padding firmly to prevent slipping. A comfortable seat reduces pressure and soreness during long rides.
Handlebar Grip Improvements
Swap worn grips with cushioned or ergonomic ones for better hold. Use grip tape or silicone covers to add softness and prevent slipping. Make sure grips fit tightly on the handlebars to stay in place. Proper grips reduce hand fatigue and improve control while cycling.
Diy Performance Hacks
Improving your air bike’s performance at home is simple and fun. Small changes can make your rides faster and smoother. These DIY performance hacks help you get more power and better control. No need to buy expensive parts. Just use easy techniques and common items. Let’s explore some effective ways to boost your air bike’s performance.
Homemade Power Boosters
Power boosters increase your air bike’s speed and strength. You can create these using strong springs or rubber bands. Attach them near the pedals or flywheel. This adds extra resistance and energy return. Use durable materials that can handle pressure. Test different sizes to find what works best. This simple hack makes pedaling more efficient and challenging.
Using Long Chains And Rerailers
Long chains improve your bike’s gear ratio and speed. Replace the original chain with a longer one for smoother rides. Add rerailers to keep the chain tight and prevent slipping. Rerailers guide the chain on the right path. This setup needs a sturdy bracket for support. Make the bracket from metal or thick plastic. This hack helps your air bike run more quietly and efficiently.
Battery-powered Enhancements
Battery power can upgrade your air bike’s features. Install a small motor to assist pedaling during tough rides. Use a rechargeable battery for convenience and safety. Connect a simple controller to adjust power levels. This addition reduces fatigue and improves endurance. Make sure to secure all parts firmly. Battery-powered hacks add a modern touch to your bike without complex tools.
Training Tips With Air Bike
Training with an air bike offers a unique blend of cardio and strength. It challenges your whole body while burning calories fast. To get the best results, focus on specific training methods. These tips help improve your fitness and keep workouts fresh.
Use the air bike smartly. Train with purpose and watch your endurance grow. Follow these practical tips to enhance your sessions.
Interval Workouts For Fat Burn
Interval training boosts fat loss by alternating high and low intensity. Push hard for 20 to 30 seconds, then pedal slowly for 40 to 60 seconds. Repeat for 15 to 20 minutes. This method burns more calories and keeps your metabolism high after exercise.
Start with shorter intervals and increase as your fitness improves. Keep your effort strong during work phases. Rest well but stay moving during recovery to keep heart rate elevated.
Speed And Endurance Drills
Speed drills improve your power and fast-twitch muscle fibers. Sprint for 10 to 15 seconds, then rest for 30 seconds. Repeat 8 to 10 times. This trains your body to move faster and recover quickly.
Endurance drills involve steady riding at a moderate pace for 20 to 40 minutes. This builds stamina and teaches your body to use energy efficiently. Combine these drills for balanced fitness gains.
Maintaining Consistent Form
Good form protects your body and improves workout quality. Keep your back straight and core tight. Avoid leaning too far forward or backward. Use both arms and legs evenly to prevent muscle imbalances.
Focus on smooth pedal strokes and controlled breathing. Consistency in form helps sustain longer sessions and reduces injury risk. Check your position regularly for comfort and efficiency.
Common Mistakes To Avoid
DIY air bike projects can be very rewarding and fun. Many people try to improve their air bikes by themselves. Yet, some common mistakes can reduce the bike’s performance and cause frustration. Avoiding these errors makes your workout safer and more effective.
Incorrect Saddle Setup
Setting the saddle too high or too low causes discomfort and injury. Your leg should be almost straight at the bottom of the pedal stroke. Too far forward or backward placement strains your knees and hips. Always check saddle height and position carefully before riding.
Overloading Resistance
Adding too much resistance at once can cause damage to the bike. It also makes your workout harder than it needs to be. Increase resistance gradually to avoid stress on parts. This helps the bike last longer and keeps your exercise safe.
Ignoring Maintenance Needs
Skipping regular maintenance shortens the bike’s life. Clean the chain, check bolts, and lubricate moving parts often. Worn or loose parts can cause noise and reduce efficiency. Small maintenance tasks keep your air bike running smoothly.

Credit: www.condorcycles.com
Tools And Materials For Diy
Starting a DIY project on your air bike needs the right tools and materials. These help you work efficiently and get the best results. Using proper equipment also keeps the process safe and smooth.
This section lists what you need to prepare before making any changes or upgrades to your air bike.
Essential Workshop Tools
Basic hand tools like screwdrivers and wrenches are must-haves. Allen keys help adjust bolts and screws on your bike. A socket set makes removing and tightening nuts easier. Pliers come in handy for gripping and bending parts.
A torque wrench ensures bolts are tightened to the right level. A bike pump helps keep tires at the correct pressure. A multi-tool designed for bikes combines many tools in one compact device. Keep a clean rag nearby to wipe dirt and grease.
Recommended Parts And Accessories
Look for replacement chains or belts that fit your air bike model. New pedals can improve comfort and grip during rides. Upgraded handles or grips reduce hand fatigue. Consider a seat cover for extra cushioning.
Extra bolts and nuts are useful to have on hand. Lubricants keep moving parts smooth and prevent rust. Small spare parts like washers or spacers help during repairs. A chain tensioner can improve pedal smoothness.
Safety Gear For Modifications
Wear safety glasses to protect your eyes from dust and debris. Gloves shield your hands from sharp edges and grease. A dust mask is important when sanding or working with chemicals. Use ear protection if you work with loud tools.
Work in a well-lit area to avoid mistakes. A sturdy workbench keeps your bike steady during repairs. Always unplug electric tools when not in use. Proper safety gear prevents injuries and makes work easier.

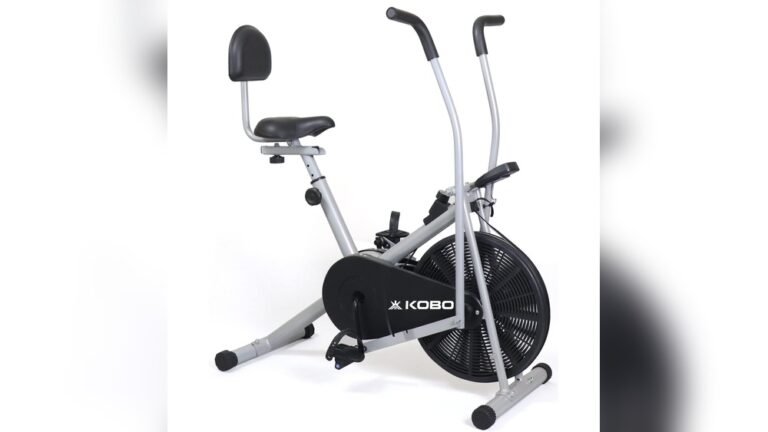
Credit: www.reddit.com
Frequently Asked Questions
How To Make An Air Bike Easier?
Adjust the saddle height so your leg is nearly straight at the pedal’s lowest point. Move the seat forward or backward to align your knee with the pedal center at nine o’clock. These tweaks reduce strain and make pedaling easier on an air bike.
Do Air Bikes Burn Belly Fat?
Air bikes burn calories through intense cardio, aiding overall fat loss, including belly fat. Spot reduction is not possible.
What Are Some Easy Tricks To Do On A Bike?
Easy bike tricks include wheelies, track stands, bunny hops, and simple turns. Practice balance and control in a safe area.
What Is A Good Time For 1 Mile On An Assault Bike?
A good time for 1 mile on an Assault Bike ranges from 2:20 to 3:00 minutes for well-conditioned athletes. Beginners may take longer.
Conclusion
DIY hacks for your air bike can improve your workout and bike’s life. Small changes make pedaling easier and more comfortable. Adjust your seat and pedals for better form and less strain. Simple fixes can boost your bike’s performance without spending much money.
Experiment with these tips to find what works best for you. Keep your bike maintained to enjoy smooth rides every time. These hacks help you stay active and make exercise more fun. Try them today and feel the difference in your workouts.
I am a certified fitness coach with over 10 years of experience helping people improve their strength, endurance, and overall health. Specializes in workout programming, weight training, fat loss, muscle building, home fitness, and evidence-based nutrition.My goal is to make fitness simple and practical through well-researched guides, honest product reviews, and actionable training advice.