Looking to boost your workout with a foam plyo box but don’t want to spend a fortune or wait for delivery? You’re in the right place.
With some simple DIY hacks, you can create a safe, sturdy, and custom foam plyo box right at home. Whether you’re training for Ninja Warrior challenges, improving your explosive power, or just adding variety to your routine, these hacks will save you time and money.
Ready to discover easy tips that anyone can follow? Keep reading to transform your fitness space with your very own foam plyo box!
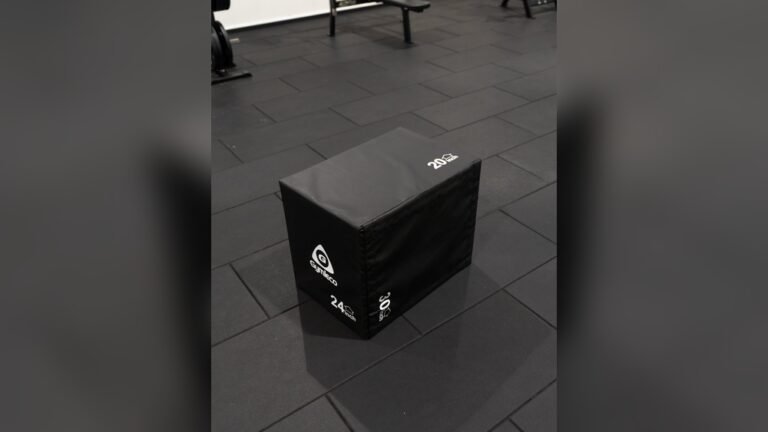
Credit: brooklynactivemama.com
Materials Needed
Creating a foam plyo box starts with gathering the right materials. Choosing the correct foam and tools ensures your box is safe and sturdy. This section breaks down everything you need to get started.
Choosing Foam Types
High-density foam is the best choice for plyo boxes. It provides firm support and absorbs impact well. Avoid soft foam that compresses too much. Look for EVA foam or cross-linked polyethylene foam for durability. These foams resist wear and hold shape after repeated jumps. Thickness between 4 to 6 inches works well for safety and comfort.
Essential Tools
You need a sharp utility knife or electric foam cutter to shape foam pieces. A measuring tape helps keep cuts accurate. Use a marker to outline cutting lines on the foam. Heavy-duty scissors can trim smaller areas neatly. A straightedge or ruler supports clean, straight cuts. Having a spray adhesive or contact cement simplifies foam assembly.
Additional Supplies
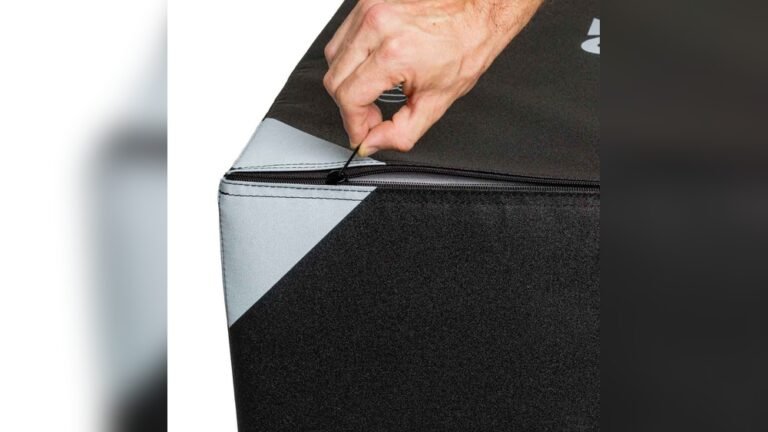
Durable fabric or vinyl covers protect the foam and improve grip. Use strong thread and a needle or a heavy-duty sewing machine to stitch the cover. Velcro strips or zippers allow easy removal of the cover for cleaning. Non-slip rubber mats or pads can be added to the bottom for stability. Optional extra padding inside the box corners adds safety during high-impact jumps.
Credit: projectmealplan.com
Cutting And Shaping Foam
Cutting and shaping foam is a key step in making a foam plyo box. It helps create clean, precise edges and the right size. Proper cutting ensures the box is safe and looks professional.
Using the right tools and methods makes this task easier and more accurate. Careful measuring and shaping improve the box’s stability and durability. Follow simple tips to get the best results.
Measuring And Marking
Start by measuring the foam carefully. Use a ruler or tape measure for accuracy. Mark the foam with a pencil or marker. Draw straight lines to show where you will cut. Double-check all measurements before cutting. This prevents mistakes and saves material.
Safe Cutting Techniques
Choose a sharp utility knife or electric foam cutter. Cut slowly and steadily along the marked lines. Use a cutting mat or board underneath to protect surfaces. Keep your fingers away from the blade. Cut in several shallow passes instead of one deep cut. This gives a cleaner edge and reduces errors.
Smoothing Edges
After cutting, edges may be rough or uneven. Use sandpaper or a fine file to smooth the foam edges. Lightly sand in one direction for a clean finish. This makes the box safer to use and improves its appearance. Smooth edges also help the covering material stick better.
Assembling The Plyo Box
Assembling the foam plyo box is the key step in building a safe workout tool. This process involves putting together the sides, adding strong supports, and securing the lid. Each part must fit tightly to hold weight and stay stable. Follow these steps carefully for a durable, reliable plyo box that lasts.
Attaching Sides
Start by aligning the foam panels to form the box shape. Use strong adhesive or glue designed for foam materials. Press the edges firmly to ensure a tight bond. Reinforce the corners with duct tape or foam-safe tape. This helps keep the sides from separating during use. Let the glue dry fully before moving on.
Building Support Structures
Add internal supports to keep the box sturdy under pressure. Cut foam blocks to fit inside the box corners. Attach these blocks using glue or double-sided tape. Supports prevent the sides from bending or collapsing. Make sure the supports fit snugly and cover all corners and edges. This step improves safety and durability.
Securing The Lid
The lid must stay in place during jumps and landings. Attach the lid panel with strong Velcro strips or foam-safe adhesive. Check that the lid fits flush with the box edges. Test the lid by pressing down and shaking the box gently. It should not move or slide off. A secure lid protects the foam inside and keeps the box stable.
Customizing Your Plyo Box
Customizing your foam plyo box makes your workouts safer and more enjoyable. Simple changes can improve how you use the box. Personal touches also make your box unique and fit your style. Below are easy ways to customize your plyo box at home.
Adding Handles
Handles make moving the plyo box easier. Cut slots or attach sturdy straps on the sides. Use strong materials like nylon or leather for durability. Place handles where your hands naturally grip. This helps avoid injury and speeds up setup.
Applying Anti-slip Surfaces
Anti-slip surfaces prevent accidents during jumps. Use grip tape or rubber mats on top and edges. Choose materials that stick well and resist wear. This keeps your feet steady and boosts confidence. Ensure the surface covers enough area for safe landings.
Color And Design Ideas
Paint your plyo box in bright colors for visibility. Use stencils or tape for clean lines and shapes. Add motivational quotes or your gym logo for a personal touch. Choose paint that resists chipping and can handle sweat. A well-designed box lifts your workout mood and space.
Maintenance Tips
Proper maintenance keeps your foam plyo box safe and durable. Regular care helps the box last longer and stay reliable. Small efforts prevent big problems and save money.
Follow simple steps to maintain your foam plyo box. Clean surfaces, check for wear, and fix damages quickly. These tips keep your workout gear in top shape.
Cleaning Foam Surfaces
Wipe the foam surface regularly with a damp cloth. Use mild soap and water for tough stains. Avoid harsh chemicals that can damage the foam. Let the box dry completely before use. Clean surfaces prevent dirt buildup and keep the box fresh.
Inspecting For Wear
Look over the foam for cracks or tears every week. Check seams and corners for any signs of damage. Notice if the foam feels softer or compressed in spots. Early detection helps avoid bigger repairs later. Replace parts if wear affects safety or performance.
Repairing Damage
Use foam glue to fix small tears or splits quickly. Patch larger holes with foam pieces cut to size. Cover repairs with strong tape or fabric for extra strength. Smooth out rough edges to prevent injury. Repair damage as soon as it appears to keep the box safe.
Alternative Uses
Foam plyo boxes are not just for jumping exercises. Their sturdy and cushioned design opens doors to many other uses. Exploring alternative uses can help you maximize space and value from your plyo box. These ideas add versatility to your workout area or home.
Using As Workout Bench
Your foam plyo box can serve as a solid workout bench. It supports body weight for exercises like step-ups and seated presses. The soft surface reduces impact on joints during workouts. This makes it ideal for strength training and stretching routines. It also helps maintain good posture while exercising.
Storage Solutions
Many foam plyo boxes come with hollow interiors or removable lids. Use this space to store workout gear, yoga mats, or small weights. It keeps your space tidy and organized. Storing items inside the box saves room and keeps essentials nearby. This doubles the function of your plyo box.
Outdoor Adaptations
Foam plyo boxes can be adapted for outdoor use with simple DIY tweaks. Cover them with waterproof fabric or paint to protect from rain and sun. Use them as outdoor seats or low tables for patio areas. Their lightweight nature allows easy movement around your yard. This adds flexibility to your outdoor fitness or relaxation spots.
Safety Considerations
Safety is key when building and using a foam plyo box. It protects you from injury and helps the box last longer. Taking safety steps keeps your workout effective and secure. Below are important points to consider for safe plyo box use.
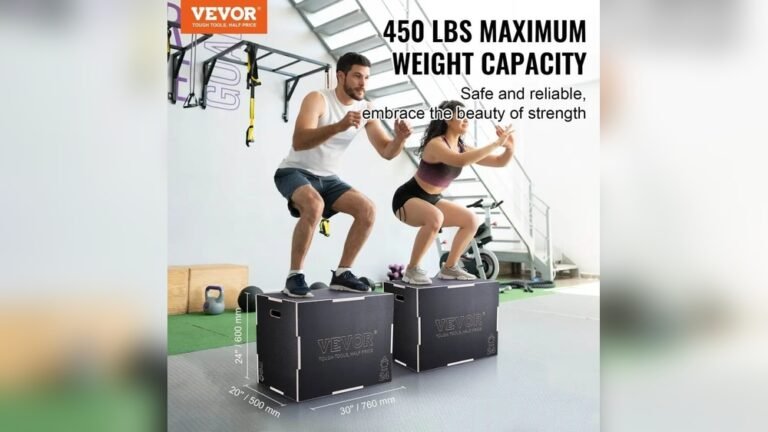
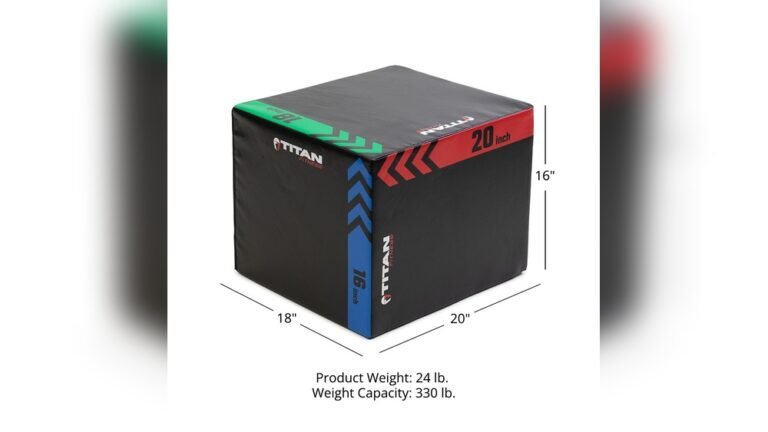
Weight Limits
Know the max weight your foam plyo box can hold. Check the materials and construction carefully. Overloading the box can cause it to break or collapse. Test the box with lighter loads first. Always stay within the set weight limit to avoid accidents.
Proper Landing Techniques
Land softly with knees bent to absorb shock. Keep your body balanced and controlled. Avoid locking your knees on landing to protect joints. Use your arms for balance and stability. Practicing correct landings lowers injury risks and improves performance.
Avoiding Common Injuries
Watch for signs of pain or strain during jumps. Warm up muscles before using the plyo box. Clear the area around the box to prevent trips or falls. Replace the box if it shows wear or damage. Follow these tips to reduce sprains, bruises, and falls.

Credit: www.velcro.com
Frequently Asked Questions
What To Use Instead Of A Plyo Box?
Use sturdy weight benches, outdoor stairs, curbs, or stacked bumper plates as plyo box alternatives for safe jumps. Try non-box plyometric exercises like vertical jumps, stair sprints, bounding, or resistance band jumps to build explosive power without equipment.
What Are Some Alternative Exercises To Box Jumps?
Alternative exercises to box jumps include step-ups on a weight bench, stair sprints, standing vertical jumps, bounding, and resistance band jumps. Outdoor curbs and stacked bumper plates also work well. These options build explosive power safely without requiring a plyo box.
What Are Foam Plyo Boxes Made Of?
Foam plyo boxes consist of dense foam cores for cushioning. They have durable, non-slip vinyl covers for stability and safety during jumps.
How To Practice Box Jumps At Home Without Equipment?
Practice box jumps at home by jumping onto sturdy surfaces like stairs, curbs, or weight benches. Focus on vertical jumps or broad jumps without equipment. Use resistance bands for assisted jumps or perform stair sprints to build explosive power safely.
Conclusion
Building your own foam plyo box saves money and fits your space. Use simple materials and tools to create a safe, sturdy box. Customize the size and softness to match your workout needs. Regular maintenance keeps the box in good shape longer.
These DIY hacks make training easier and more fun at home. Start small, stay consistent, and enjoy your workouts with your new plyo box.
I am a certified fitness coach with over 10 years of experience helping people improve their strength, endurance, and overall health. Specializes in workout programming, weight training, fat loss, muscle building, home fitness, and evidence-based nutrition.My goal is to make fitness simple and practical through well-researched guides, honest product reviews, and actionable training advice.